How to Replace Motorcycle Battery: A Step-by-Step Guide for Successful Battery Change
Recognizing the Critical Signs of Battery Failure
Getting stranded with a dead motorcycle battery is no fun. By learning to spot early warning signs, you can avoid this hassle and address battery issues before they leave you stuck. Let’s examine the key indicators that signal it’s time for a battery replacement.
Common Indicators of a Failing Battery
Watch for these typical signs of battery problems. If your motorcycle has trouble starting or the starter motor sounds weak when cranking, your battery may be failing. Dim headlights are another red flag - if your lights noticeably dim at idle but brighten when revving, the battery likely needs attention.
Needing frequent jump-starts points to a battery that’s not holding a charge properly. If you find yourself regularly needing a boost to start your bike, the battery’s internal components are likely wearing out. Physical damage like a swollen or leaking battery case requires immediate replacement, as these issues indicate dangerous chemical problems inside.
Electrical System Checks and Diagnostics
Testing your battery voltage provides concrete data about its health. A healthy battery should read 12.6 volts when fully charged. Lower readings suggest the battery is failing and needs replacement.
Consider the battery’s age too. AGM batteries typically last 3-5 years, while standard lead-acid batteries last 2-5 years with proper care. Regular charging and protection from extreme temperatures help extend battery life. Check detailed battery lifespan data at YUASA Batteries.
Environmental and Riding Habits Impact
Both weather conditions and how you use your motorcycle affect battery health. Very hot or cold temperatures stress batteries, while letting a bike sit unused allows natural battery discharge. Extended storage without charging leads to sulfation damage that permanently reduces capacity.
For motorcycles stored long-term, use a battery tender to maintain proper charge levels. Understanding these environmental factors helps predict when you might need a replacement. Now that we’ve covered battery failure signs, let’s look at choosing the right new battery.
Selecting Your Perfect Battery Match
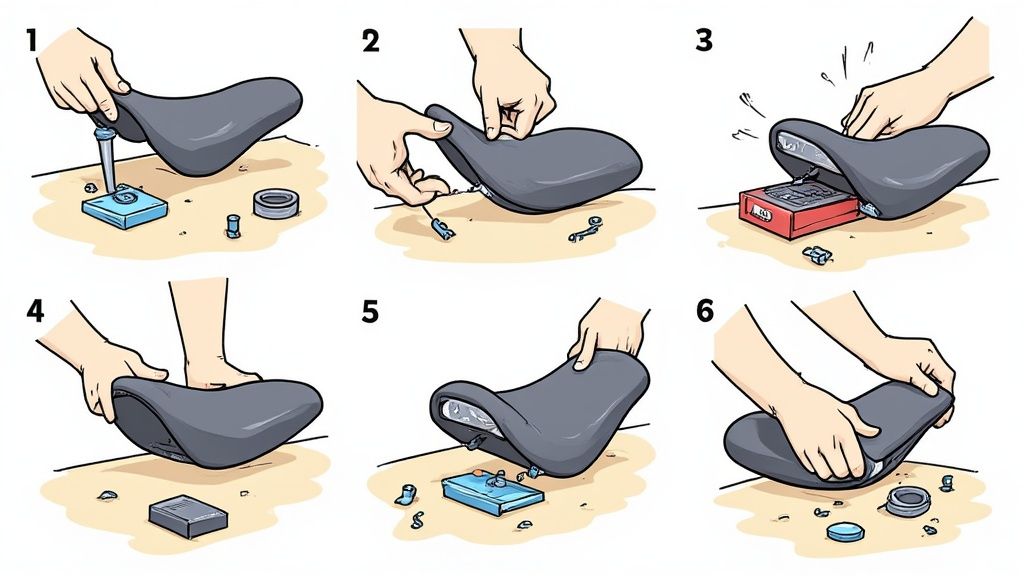
Finding the right motorcycle battery requires understanding the main types and how they match your specific needs. The key factors to consider are your typical riding patterns, what you’re willing to spend, and how much maintenance you want to do.
Lead-Acid Batteries: The Traditional Choice
Lead-acid batteries remain the most basic and budget-friendly option. While they deliver reliable power for most motorcycles, they need regular care - you’ll need to check fluid levels and add distilled water periodically. Their main drawbacks are sensitivity to temperature changes and vibration damage.
AGM (Absorbent Glass Mat) Batteries: Enhanced Performance
AGM batteries offer clear advantages over standard lead-acid models. Their design uses special glass mats to hold the electrolyte, eliminating maintenance needs and providing better protection against vibrations and spills. Though they cost more upfront, AGM batteries last longer and work better in extreme weather than basic lead-acid types.
Lithium-ion Batteries: The Lightweight Powerhouse
Lithium-ion batteries are gaining popularity thanks to their standout features. They weigh much less than other options while delivering more power. The lifespan is impressive - 5-10 years compared to just 3-5 years for lead-acid batteries. Learn more about battery lifespans. While the initial price is higher, the extended service life and minimal maintenance needs can make them cost-effective over time.
Comparing Battery Types
Here’s a quick look at how the different battery types stack up:
| Feature | Lead-Acid | AGM | Lithium-ion |
|---|---|---|---|
| Cost | Lowest | Moderate | Highest |
| Lifespan | Shortest | Moderate | Longest |
| Maintenance | High | Low | Very Low |
| Weight | Heaviest | Moderate | Lightest |
| Performance | Good | Better | Best |
| Vibration Resistance | Low | Moderate | High |
The best battery choice depends on what matters most to you. Think about your budget, how much maintenance you’re willing to do, where and how you ride, and what performance level you need. Now that you know the options, let’s look at how to prepare for installing your new battery.
Essential Tools and Safety Protocols for Success
Proper preparation makes all the difference when replacing your motorcycle battery. Getting the right tools together and following key safety steps helps ensure a smooth and successful installation.
Gathering Your Tool Kit Essentials
Having the correct tools on hand makes battery replacement much easier. Here are the basic tools you’ll need:
- Wrenches: Get both metric and standard sizes to fit different battery terminals
- Screwdrivers: Keep Phillips head and flathead types ready for removing brackets
- Gloves: Use nitrile or latex gloves to protect your hands from battery acid
- Safety Glasses: Shield your eyes from potential acid splashes
- Terminal Cleaner: A wire brush works well for cleaning contact points
- Dielectric Grease: Apply this to prevent terminal corrosion
Some optional but helpful tools include:
- Battery Terminal Puller: Makes removing stubborn terminals much easier
- Motorcycle Lift: Provides better access to the battery on many models
Prioritizing Safety: A Must-Do
Working with batteries requires careful attention to safety. Here are the key precautions to take:
- Disconnect Negative First: Always remove the negative (-) terminal before the positive (+) to prevent shorts
- Use Good Ventilation: Work in an open area since batteries can release flammable gases
- Keep Baking Soda Ready: This neutralizes acid spills if they occur
- Check Everything First: Look for damage or corrosion before starting
- Recycle Properly: Take old batteries to auto parts stores or recycling centers
Using the right tools and following these safety steps turns battery replacement into a straightforward job. This practical approach helps you complete the task safely and successfully.
Professional Battery Replacement Process Revealed
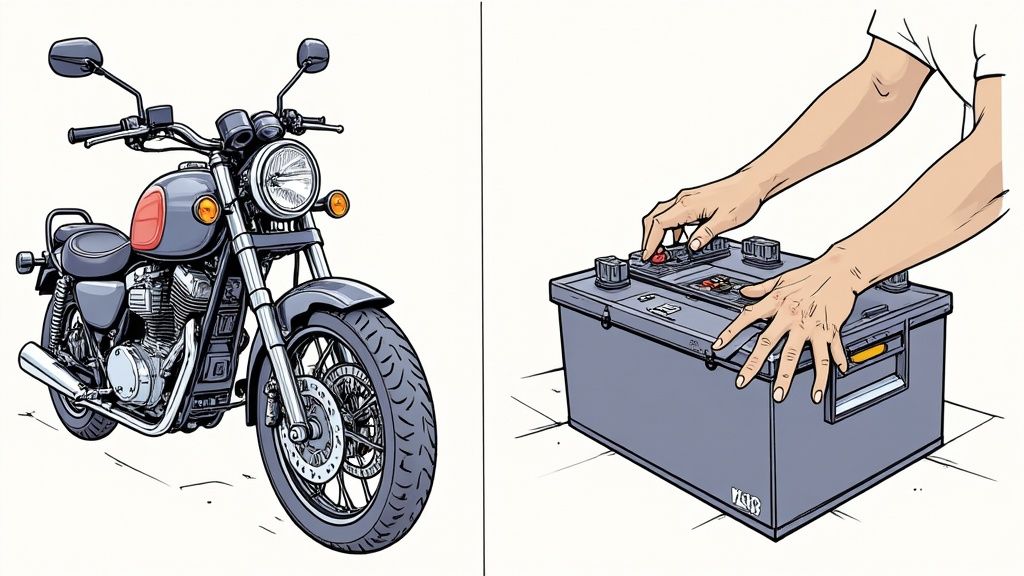
Ready to replace your motorcycle battery? This step-by-step guide walks you through the process to help you do it correctly and get back on the road quickly. Following these instructions carefully will help prevent common mistakes.
Disconnecting the Old Battery
Start by removing the negative (-) terminal first - this is a key safety step to prevent shorts. Loosen the terminal clamp nut and gently remove the cable. Next, disconnect the positive (+) terminal using the same process. If the terminals are stuck, use a battery terminal puller. After both terminals are free, remove the hold-down strap or bracket, then lift out the old battery.
Preparing for the New Battery
Take time to properly clean the battery tray and terminals with a wire brush or terminal cleaner. This removes corrosion and ensures good electrical contact. For extra protection against future corrosion, apply a light coating of dielectric grease to the terminals. This simple step can significantly extend battery life.
Installing the New Battery
Place the new battery in the tray, making sure it’s properly seated. Secure it with the hold-down strap or bracket. Connect the positive (+) terminal first, tightening the nut firmly. Then attach the negative (-) terminal and tighten. Check both connections to confirm they’re snug and corrosion-free.
Testing and Final Checks
Now it’s time to test the electrical system. Turn the ignition on and check that the headlight is bright and steady. Start the motorcycle - the engine should crank and start easily. If you notice any issues, double-check all connections and make sure the battery is properly secured.
Post-Installation Best Practices
Keep a record of the battery replacement date and specifications - this helps track maintenance needs. Consider using Auto Service Logger to store this information along with other vehicle records. Monitor the new battery’s performance and address any issues quickly, like slow starting or dim lights. Regular terminal cleaning and voltage checks will help maximize battery life. With proper installation and maintenance, your new motorcycle battery should provide reliable power for years to come.
Understanding Modern Battery Innovation
Battery technology for motorcycles keeps improving to deliver stronger performance, extended lifespans, and greener solutions. When it’s time to replace your motorcycle battery, you have more options than ever before to enhance your bike’s power system.
Advancements in Lead-Acid Batteries
Traditional lead-acid batteries have gotten better through improved manufacturing and new alloy materials that make them more durable and vibration-resistant. AGM (Absorbent Glass Mat) batteries are gaining popularity due to their sealed, maintenance-free design. Unlike conventional batteries, AGM batteries don’t need electrolyte level checks and are much less likely to leak.
The Rise of Lithium-Ion Technology
Lithium-ion batteries represent a major step forward in motorcycle power. These lightweight options deliver the same starting power as lead-acid batteries at a fraction of the weight - a key factor for bike performance. They also last significantly longer, often several years beyond traditional batteries, which means less frequent replacements and maintenance.
Market Trends and Future Projections
The motorcycle battery market is growing quickly. According to recent data, the global market reached $8.6 billion in 2022 and is expected to grow to $12.7 billion by 2032. You can find more details at Allied Market Research. This growth comes from increasing electric vehicle adoption and better battery technology, though raw material costs and environmental rules present some challenges.
Choosing the Right Battery for Your Needs
When selecting a new battery, consider key factors like your riding style, local climate, and budget. Weekend riders in mild weather might find a quality AGM battery offers the best mix of performance and value. For frequent riders dealing with extreme temperatures or seeking top performance, a lithium-ion battery could be worth the higher upfront cost. Understanding these options helps you pick the best battery for your specific motorcycle and riding needs.
Maximizing Your Battery Investment
A new motorcycle battery is a significant investment that deserves proper care. Understanding key maintenance practices and adapting them to your specific needs helps ensure you get the most value and longest life possible from your battery.
Optimal Charging Practices for Extended Life
The way you charge your battery directly impacts how long it will last. Just like regular maintenance keeps your bike running smoothly, proper charging keeps your battery healthy and ready to perform.
Key charging best practices include:
- Smart Charger Selection: Purchase a quality motorcycle-specific smart charger that automatically adjusts charging rates and prevents overcharging damage
- Regular Maintenance Charging: Top off the battery every few weeks, especially during periods when the bike sits idle, to prevent harmful sulfate buildup
- Temperature Awareness: Allow cold batteries to warm up before charging and avoid exposure to extreme temperatures that can reduce charging effectiveness
Storage Protocols for Seasonal Riders
When storing your motorcycle during off-seasons, proper battery care is essential. An improperly stored battery can suffer permanent damage that shortens its lifespan.
Follow these storage guidelines:
- Safe Disconnection: Remove the negative terminal first, then positive to prevent parasitic power drain from accessories
- Charge Maintenance: Keep the battery on a maintenance charger or tender during storage to maintain optimal charge levels
- Protected Location: Store in a temperature-controlled area away from direct sunlight and weather exposure
Monitoring Battery Performance and Identifying Early Warning Signs
Regular battery checks help catch problems early before they lead to failures. Watch for these key indicators:
- Physical Inspection: Look for cracks, leaks, bulging or other visible damage that requires immediate attention
- Voltage Testing: Check voltage levels with a multimeter - a healthy battery should read approximately 12.6 volts when fully charged
- Starting Performance: Note if the engine cranks more slowly or requires multiple attempts to start, as this often signals declining battery health
Following these proven maintenance practices helps maximize your battery investment and ensures reliable starts. Not only does this save money over time, but it also provides peace of mind knowing your motorcycle is ready to ride when you are.
Want an easy way to track your battery maintenance along with other service records? Check out Auto Service Logger to simplify your vehicle maintenance tracking.