
How to Replace Cabin Filter: A Step-by-Step Masterclass for Modern Car Owners
Understanding Your Vehicle’s Respiratory System
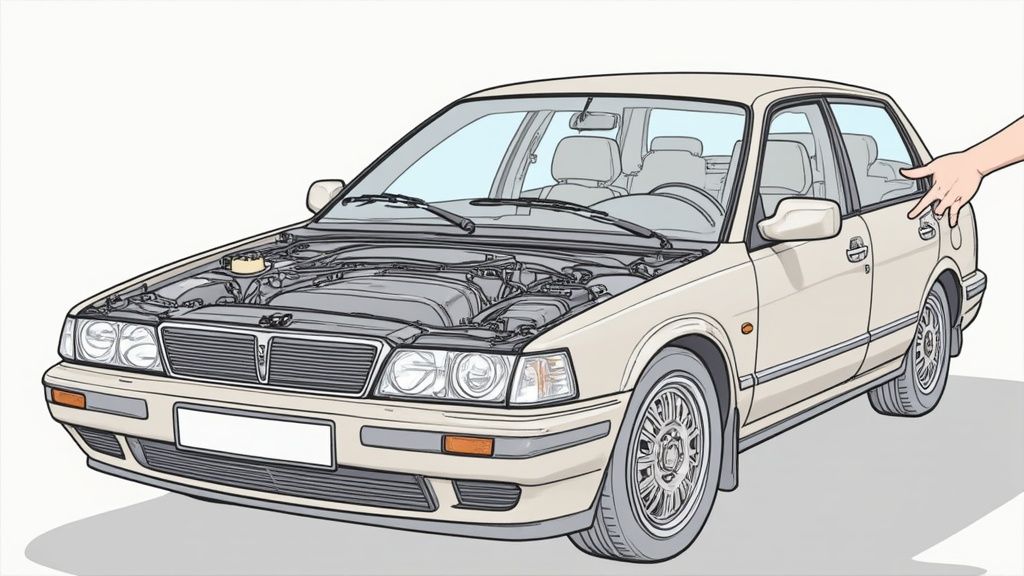
Like humans need clean air to breathe, your car needs a healthy cabin air filter to maintain air quality inside. This small but essential part helps catch dust, pollen, smog and other particles before they enter your vehicle’s interior. A well-maintained cabin air filter helps protect you and your passengers from airborne irritants while driving.
How Cabin Air Filters Work
You’ll typically find the cabin air filter installed near your glove box or under the hood as part of the heating and air conditioning system. When air flows through your car’s ventilation, the filter’s special pleated material traps harmful particles. Most filters use paper or activated charcoal to clean the incoming air. Beyond just improving air quality, a clean filter also helps your climate control system work more efficiently.
Filter Types and Their Benefits
Car owners can choose from several filter options:
- Standard Filters: Basic filters that effectively catch larger particles like dust and pollen
- Activated Charcoal Filters: Premium options containing charcoal that absorbs odors and harmful gases
- HEPA Filters: High-efficiency particulate air (HEPA) filters that remove tiny particles including bacteria and mold spores
Your driving environment helps determine which filter type works best. City drivers dealing with pollution may want activated charcoal or HEPA filters, while standard filters often suffice for rural areas.
Most manufacturers suggest changing your cabin air filter every 15,000 to 30,000 kilometers. However, for optimal health benefits, experts recommend replacing it once a year, especially before allergy season starts. Regular filter changes are particularly important for allergy sufferers since fresh filters work best at removing irritants. Learn more about recommended replacement intervals here. With proper maintenance, you can ensure clean, healthy air flows through your vehicle.
Recognizing the Warning Signs of Filter Fatigue
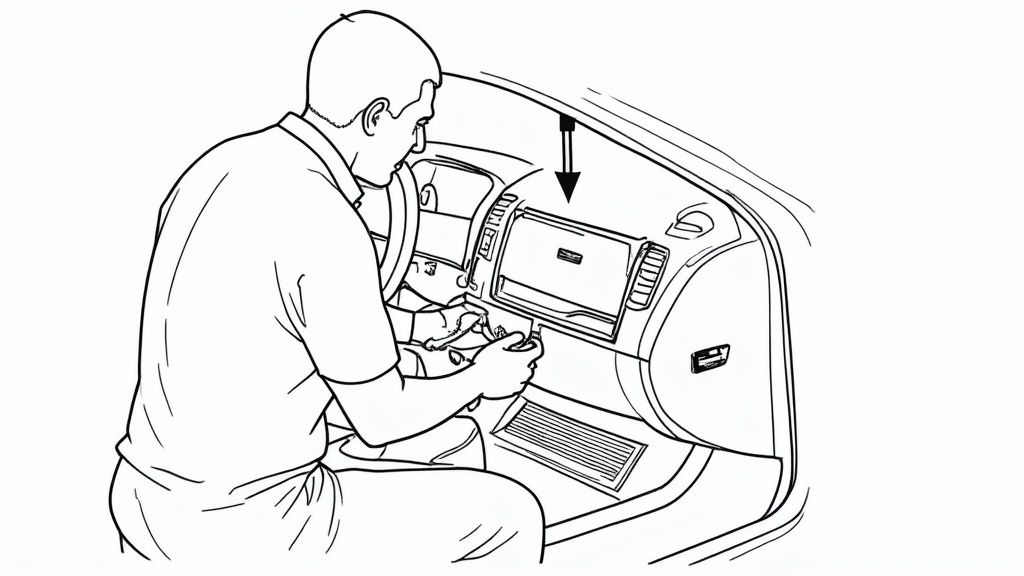
Your car’s cabin air filter plays a key role in keeping the air inside your vehicle clean and healthy. Just like your body shows symptoms when something isn’t right, your car gives clear signals when the filter needs attention. Being aware of these signs helps prevent performance issues and protects your health.
Reduced Airflow: A Telltale Sign
The most common indicator of a clogged filter is weak airflow from your vents. You might notice the air stream feels faint even with the fan running at maximum speed. This happens because dirt and debris block air from flowing freely through the filter. For instance, if some vents blow stronger than others, this often points to partial filter blockage.
Listening for Trouble: Unusual HVAC Sounds
Pay attention to any odd noises coming from your car’s ventilation system. When your filter is clogged, you might hear whistling or whining, especially at higher fan speeds. These sounds indicate your system is working harder than necessary to push air through a dirty filter.
Air Quality Changes: More Than Just an Annoyance
Watch out for changes in air quality inside your car. If you notice musty smells from the vents, this suggests your filter can no longer effectively clean the incoming air. People with allergies may find themselves sneezing more often while driving - a clear sign the filter isn’t doing its job properly.
The Impact of Driving Conditions
Your driving environment affects how often you need to replace the cabin air filter. Regular driving on unpaved roads or in areas with high pollution levels will clog your filter faster. For example, if you frequently drive on dirt roads, you may need to change your filter every 12,000 to 15,000 miles. The same applies to driving in heavily polluted urban areas. Learn more about recommended replacement schedules here.
Checklist for Evaluating Your Filter
Use this simple checklist to determine if your cabin air filter needs replacement:
- Reduced airflow: Check if air from vents feels weaker than normal
- Unusual sounds: Listen for whistling or whining from the HVAC system
- Unpleasant odors: Note any musty smells from the vents
- Increased allergy symptoms: Track if allergies worsen while driving
- Driving conditions: Consider your typical driving environment
By staying alert to these warning signs and using this checklist, you can replace your cabin air filter at the right time. This ensures clean air in your car and keeps your HVAC system working efficiently. Let’s now look at the tools and materials needed for filter replacement.
Essential Tools and Materials for Success

Replacing your cabin filter is straightforward when you have the right tools and materials on hand. This section covers everything needed to complete this maintenance task properly and avoid any setbacks along the way.
Gathering Your Tools
The basic tools needed are simple and few. You’ll need a screwdriver that matches your filter housing fasteners - some vehicles use screws while others have clips. A small pry tool helps safely release stubborn clips without breaking them. Keep a flashlight nearby to see clearly in tight spaces under the dashboard.
Choosing the Right Replacement Filter
Getting the correct filter is key to proper function. Check your owner’s manual for the specific part number recommended by your vehicle manufacturer. Most auto parts stores have online lookup tools where you can enter your car’s details to find compatible filters. Consider your needs when choosing between standard filters, activated charcoal filters, or HEPA filters based on your local air quality and driving conditions.
Tips for Sourcing Tools and Filters
You can find quality tools and filters through several reliable sources. While local auto parts stores provide convenience, online retailers often have better selection and prices. This is especially helpful for specialty filters or specific tools. Before purchasing, verify that your chosen filter matches your vehicle’s specifications.
Avoiding Common Pitfalls
Watch out for common mistakes that can cause problems. Always confirm filter dimensions match your current filter or manufacturer specs before buying. Be gentle when handling filter housing components - clips and fasteners can break if forced. Taking these simple precautions helps ensure a smooth replacement process that keeps your vehicle’s air clean and your HVAC system running well. With the right supplies gathered, you’re ready to tackle the actual replacement.
Master the Replacement Process Like a Pro

Replacing a cabin air filter doesn’t have to be complicated. With basic mechanical knowledge and careful attention to detail, you can complete this maintenance task effectively. The key is understanding not just the basic steps, but also the small details that ensure proper fit and function.
Step-by-Step Guide to Replacement
Here’s how to replace your cabin air filter properly:
- Find the Filter Housing: Check behind your glove box or under the hood. If you’re unsure, your vehicle manual will show the exact location.
- Take Out the Old Filter: Open the housing by removing clips or screws. Carefully pull out the old filter to avoid dropping debris.
- Check the Housing Area: Look for and clean out any dirt or debris before installing the new filter.
- Install New Filter: Make sure the airflow arrows point in the right direction - this affects how well the filter works.
- Close Everything Up: Put the housing cover back on, making sure all clips or screws are properly secured.
Vehicle-Specific Tips
Filter housings vary between car makes and models. Always check your specific vehicle requirements before buying a new filter. Luxury vehicles often have extra insulation around the housing clips, which requires extra care during removal and installation.
Common Issues and Solutions
If you run into problems, here are typical fixes:
- Filter Doesn’t Fit: Verify you have the correct model number for your vehicle
- Bad Smells Remain: Check if the filter is installed in the correct direction or if the system needs cleaning
Getting Professional Results
Your goal is to achieve a secure fit that prevents air from bypassing the filter. With practice, you’ll learn exactly how tight the clips should be and how the filter should feel when properly seated.
Follow these steps carefully, and you’ll achieve results that match professional quality. Regular filter changes improve your car’s air quality and HVAC system performance. Consider using Auto Service Logger to track your maintenance history and ensure timely future replacements.
Maximizing Filter Performance and Longevity
A cabin air filter needs more than just replacement to work its best. Good maintenance helps it last longer, keep your air clean, and protect your car’s HVAC system. Understanding how you drive and where you drive affects your filter’s lifespan lets you take better care of it.
Regular Inspections: A Proactive Approach
Checking your cabin air filter often is one of the best ways to keep it working well. Like checking your oil, a quick look at your filter tells you a lot about its condition. Make it a habit to check it every three months or when you change your oil. This helps you spot problems early and adjust when you need to replace it. For example, if you see lots of dirt after just a few months, you’ll know you need to change it more often. This saves money by preventing strain on your HVAC system.
Environment-Specific Adjustments: Smart Maintenance
Where and how you drive affects how quickly your filter gets dirty. If you often drive on dirt roads or in polluted areas, you’ll need to replace your filter more often. Think of it this way - driving through dusty areas is like running an air purifier during a forest fire. City driving with lots of smog means more frequent changes than driving in clean country air. Match your maintenance to your driving conditions for the best results.
Cleaning and Maintenance: Making Filters Last
While replacement is best for clean air, some filters can handle light cleaning. For example, using a vacuum on a slightly dirty filter might help it last longer. But don’t use harsh cleaning methods that could damage the filter. You might try a special automotive filter cleaner spray. This can help remove dirt and improve how well the filter works. Remember though - cleaning helps but doesn’t replace regular changes.
Seasonal Maintenance: Ready for Weather Changes
Seasons affect how well your filter works. Before winter, make sure your filter is clean so air flows freely in cold weather. Change your filter when spring starts to handle pollen and allergens better. This seasonal approach helps your filter last longer and keeps you comfortable.
Driving Habits and Filter Life: Making the Connection
How you drive affects your filter too. Quick starts and sudden stops kick up more dust and dirt for the filter to catch. Short trips don’t let the HVAC system dry out properly, which can lead to mold on the filter. When possible, smoother driving helps your filter last longer.
Following these tips and adjusting your maintenance for your specific needs helps your cabin filter last longer and keeps your car’s air cleaner. Track your maintenance with Auto Service Logger to stay on top of filter changes and maintain good air quality.
Overcoming Common Challenges and Complications
Replacing a cabin air filter can present some tricky situations, but with the right approach these challenges become opportunities to improve your maintenance skills. Let’s explore solutions for the most frequent issues you may encounter, from unusual filter designs to installation problems.
Tackling Unusual Filter Configurations
Some vehicles have non-standard filter setups that require specific knowledge. For example, the 2016-2018 Tiffin Allegro Bus places its filter in an insulated compartment that can be difficult to access. In these cases, checking vehicle-specific forums and real owner experiences can provide practical solutions.
Essential Step: Review your vehicle’s service manual for detailed diagrams of complex filter configurations.
Dealing with Stubborn Housing Clips
Stuck clips are a common frustration that can lead to breakage if not handled properly. The best approach is using a small pry tool to carefully release stubborn clips without damaging them.
Helpful Tip: Apply a silicone-based lubricant to reduce friction when removing tight clips from the housing.
Diagnosing Installation Problems
Simple mistakes like misaligning the filter can cause major issues. The filter must sit correctly with airflow arrows pointing in the right direction. This small detail significantly affects both filter performance and cabin air quality.
Quick Fix: If you notice poor airflow, check that the filter isn’t upside down and is fully seated in its housing.
Knowing When to Seek Professional Help
Sometimes it’s best to get expert assistance. If you’ve tried multiple times but still have issues, or if you notice damage to the interior components, consider having a professional mechanic take a look. They understand specific vehicle quirks and can provide targeted solutions.
Best Practices: Keep detailed records of filter changes and monitor your vehicle’s response to spot patterns. Using tools like Auto Service Logger helps track maintenance history and ensures proper air quality in your vehicle.