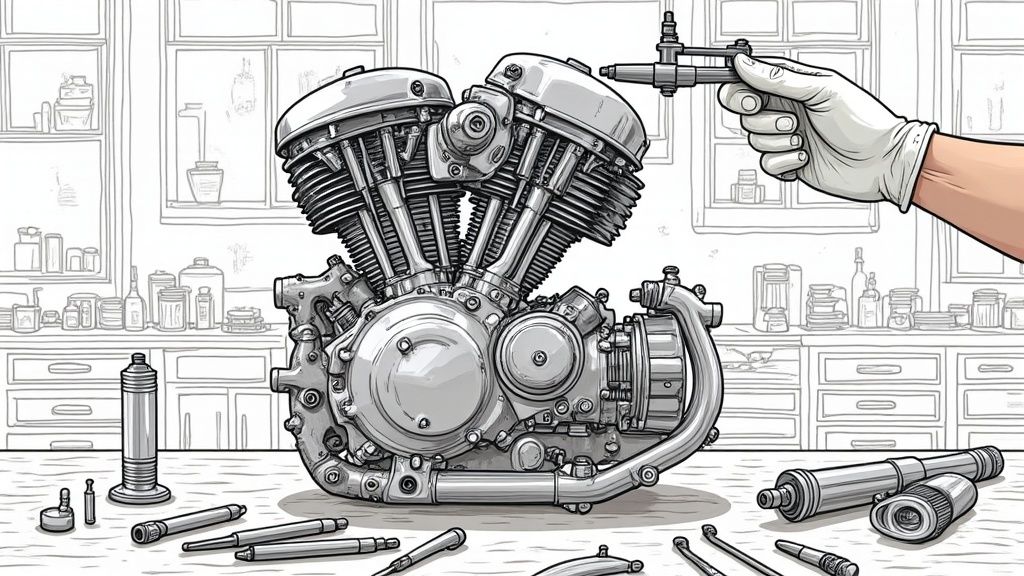
How to Rebuild Motorcycle Engine: Your Step-by-Step Guide
Understanding When Your Engine Needs Rebuilding
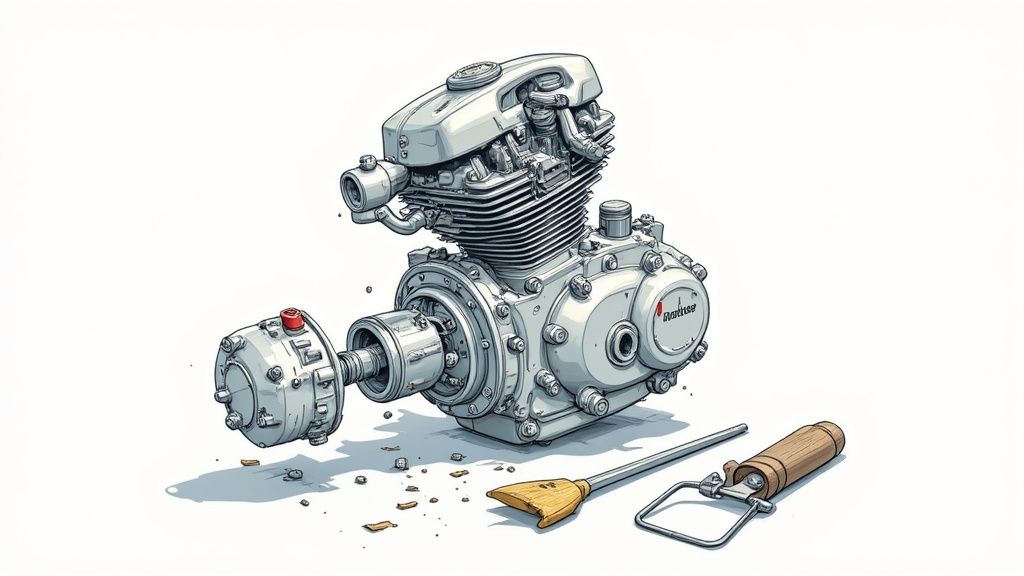
Motorcycle engines, like all machines, eventually wear out. Knowing when your engine needs a rebuild is crucial for both performance and safety, preventing catastrophic failures and saving you money down the line. Routine maintenance is essential, but sometimes more is needed.
Recognizing the Red Flags
Several symptoms can indicate a potential need for an engine rebuild. Blue smoke from the exhaust is a major red flag. This usually means oil is burning in the combustion chamber due to worn piston rings or valve seals.
Unusual knocking or ticking sounds also warrant attention. These noises could point to worn bearings or other internal damage.
Finally, metal fragments in your oil signal serious internal wear. This requires immediate action to prevent further, more costly damage.
Beyond the Obvious: Deeper Diagnostics
Beyond the obvious signs, other issues might require a closer look. Decreased performance, such as reduced power or poor fuel economy, could indicate internal engine wear.
However, these symptoms can also stem from other problems, making proper diagnosis essential. Checking your motorcycle’s compression is a key step. Low compression readings might suggest worn piston rings, valves, or a damaged cylinder head gasket. Specialized tools are needed for this, but the information is invaluable.
An oil analysis provides a more comprehensive picture of your engine’s health. It can reveal the presence of metal particles and other contaminants, giving you a detailed view of engine wear. You might find this helpful: How to master motorcycle maintenance.
The Rebuild Decision: Tune-Up or Overhaul?
It’s important to distinguish between needing a tune-up and a full rebuild. A tune-up covers routine maintenance like spark plug replacement, carburetor cleaning, or valve adjustments.
A rebuild, however, involves disassembling the engine, inspecting every component, and replacing worn or damaged parts. This is a much more complex and costly process. Rebuilding a motorcycle engine typically ranges from $3,000 to $7,000, depending on the motorcycle’s make, model, and age.
This cost doesn’t include labor, which can add another $300 to $1,500 Learn more about motorcycle engine rebuild costs here. A DIY rebuild is an option for budget-conscious riders, but it requires significant expertise and a time investment of between 10 to 200 hours.
The decision to rebuild depends on several factors: the severity of the symptoms, diagnostic test results, your budget, and your mechanical skills. By understanding the signs of engine trouble and using the right diagnostic techniques, you can make an informed choice that protects your motorcycle and your safety on the road.
Gathering Your Arsenal: Tools That Make or Break a Rebuild
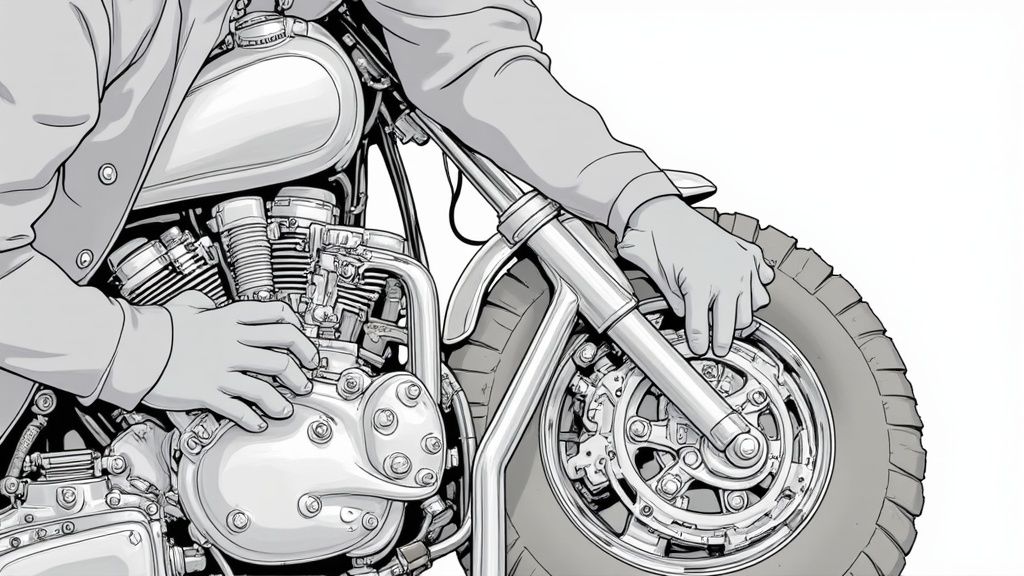
A successful motorcycle engine rebuild requires the right tools. It’s not enough to simply own a wrench; you need the right wrench – the correct size and appropriate quality. This section guides you through assembling your tool collection strategically, ensuring a smooth and successful rebuild.
Essential Precision Tools
Precision measurement is critical in engine rebuilding. Micrometers and dial bore gauges are essential for accurately measuring critical dimensions like cylinder bore diameter and crankshaft journal sizes. This accuracy ensures proper clearances and component fitment, crucial for engine longevity and performance. A torque wrench is also non-negotiable. Incorrectly torqued fasteners can lead to problems ranging from stripped threads and warped components to catastrophic engine failure.
Specialized Tools for a Smooth Process
Beyond the basics, specialized tools make specific tasks easier and prevent damage to delicate engine components. A piston ring compressor is crucial for compressing piston rings during piston installation. Valve spring compressors simplify valve removal and installation. While these specialized tools might seem like an added expense, they save considerable time and frustration, especially when working with intricate engine parts. For additional tips on maintaining records and organization during your rebuild, see our guide on How to master motorcycle maintenance.
Workspace Organization and Cleaning Essentials
A well-organized workspace is as important as the tools themselves. Invest in a good workbench, tool organizers, and a labeling system to track parts and fasteners. This organization helps prevent lost parts and makes reassembly much smoother.
Cleaning is also vital during a rebuild. Effective cleaning solvents, specifically designed for engine components, remove grime and old gasket material without damaging parts. An ultrasonic cleaner can be a valuable addition for removing stubborn deposits from hard-to-reach areas.
Lubricants and Assembly Tools
Proper lubrication is essential for long engine life. Use assembly lubricants specifically formulated for engine components during reassembly. These lubricants prevent initial wear and ensure proper break-in of moving parts.
A comprehensive set of hand tools is fundamental. This includes various wrenches, sockets, screwdrivers, and pliers. While some specialized tools can be borrowed or rented, a solid foundation of high-quality hand tools is indispensable.
To help you visualize the tools you’ll need, we’ve compiled a comprehensive table:
The following table outlines the essential and optional tools for a motorcycle engine rebuild, along with their estimated cost ranges.
| Tool Category | Essential Items | Optional Items | Estimated Cost Range |
|---|---|---|---|
| Precision Measurement | Micrometers, Dial Bore Gauge, Torque Wrench | Telescoping Gauge, Feeler Gauges | $50 - $500 |
| Specialized Tools | Piston Ring Compressor, Valve Spring Compressor | Ridge Reamer, Cylinder Hone | $30 - $200 |
| Workspace Organization | Workbench, Tool Organizers, Labeling System | Parts Bins, Magnetic Trays | $50 - $500+ |
| Cleaning | Cleaning Solvents, Brushes, Rags | Ultrasonic Cleaner, Parts Washer | $20 - $300+ |
| Lubricants & Assembly | Assembly Lubricant, Gasket Sealer | Threadlocker, Anti-Seize Compound | $10 - $50 |
| Hand Tools | Wrenches, Sockets, Screwdrivers, Pliers | Hammer, Punch Set, Wire Cutters | $50 - $500+ |
This table provides a general overview; the specific tools and costs will vary depending on the make and model of your motorcycle.
Building Your Tool Kit Strategically
Acquiring all these tools might seem daunting, but it doesn’t have to be expensive. Prioritize investment-grade tools for precision measurement and frequently used items. Consider budget-friendly alternatives for specialized tools used less often. Researching tool reviews and comparing prices can help you build a comprehensive toolkit that fits your needs and budget.
The Art of Engine Disassembly: Beyond Just Removing Parts
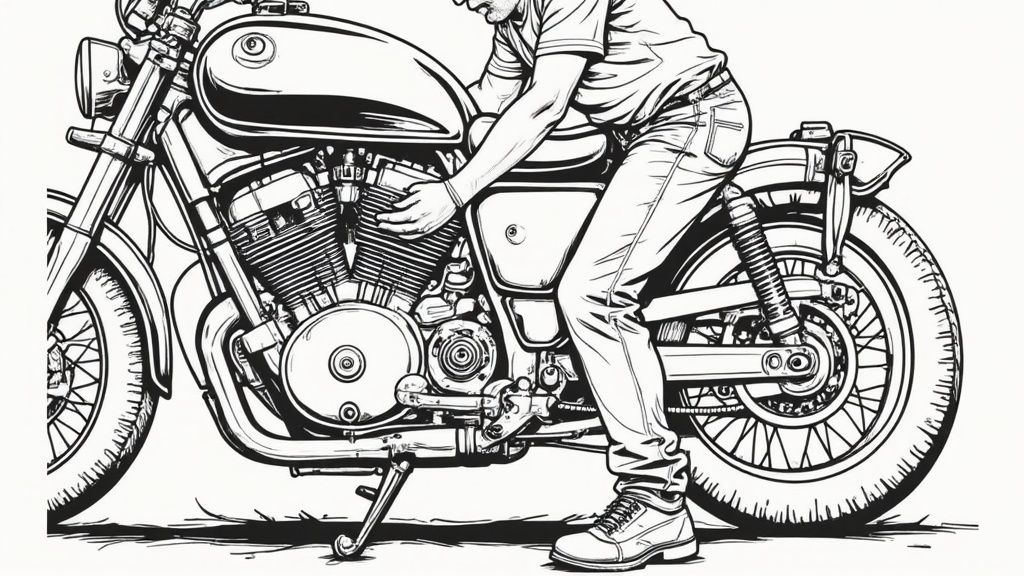
Disassembling a motorcycle engine isn’t simply about taking it apart. It’s a detailed process requiring documentation, preservation, and careful observation. A successful rebuild relies heavily on this stage, and it’s where many DIY rebuilders stumble, potentially impacting the final result.
Documenting the Disassembly Process
Before even picking up a wrench, establish a thorough documentation system. This involves taking detailed photographs and implementing a clear labeling system. Photographs should be taken from various angles, capturing the position and orientation of every component before removal. This visual record becomes indispensable during reassembly, particularly with complex assemblies.
A logical labeling system is equally critical. Label each part, wire, and fastener with its location and orientation. Simple tools like Ziploc bags, masking tape, and a permanent marker are highly effective for this. This practice prevents parts mix-ups and confusion, ensuring a smooth and accurate reassembly.
Tackling Seized Fasteners and Stuck Surfaces
Seized fasteners and stuck surfaces are common obstacles during disassembly. Penetrating oil, applied and allowed to soak before removal attempts, can often free stubborn fasteners. Heat can also be used, but exercise caution, as excessive heat can damage nearby components.
When separating joined surfaces, a gentle tapping with a rubber mallet is often effective. Avoid excessive force or prying with metal tools, which can damage mating surfaces or cause components to break. Patience and the correct technique are key.
The Disassembly Sequence: A Step-by-Step Approach
The correct disassembly sequence is vital to prevent damage to internal components. Begin by draining the engine oil and coolant. Next, remove external components such as the exhaust system, carburetors, and intake manifold.
Then, move to the top end, removing the cylinder head and cylinders. Follow this by disassembling the bottom end, including the crankshaft, connecting rods, and pistons. Approach each step carefully, ensuring all fasteners are removed and components are labeled correctly before moving on. Consider component lifespan when evaluating cost and effort. Motorcycles under 170 cc may need piston and ring replacements around 12,000 km, while larger engines can last up to 30,000 km. Learn more about motorcycle component lifespans: https://nepis.epa.gov/Exe/ZyPURL.cgi?Dockey=9100WY60.TXT. This careful process helps avoid unnecessary costs and rebuilds your engine with confidence.
Observing Wear Patterns: Uncovering the Root Cause
Careful observation during disassembly is essential for pinpointing the root cause of engine problems. Examine wear patterns on components like piston rings, cylinder walls, and bearings. These patterns can indicate underlying problems like lubrication issues, excessive heat, or mechanical damage.
Documenting these wear patterns with photographs and notes helps inform your rebuild strategy. For example, scoring on cylinder walls might suggest a lubrication issue, emphasizing the need for better oil flow or a different oil viscosity during the rebuild. Recognizing these clues can prevent recurring problems after rebuilding.
Example: Identifying a Worn Connecting Rod Bearing
Imagine finding discoloration and scoring on a connecting rod bearing during disassembly. This indicates excessive wear, probably due to insufficient lubrication. Further investigation might reveal a clogged oil passage or a worn oil pump, highlighting areas requiring attention during the rebuild.
By meticulously disassembling the engine, documenting each step, and observing wear patterns, you gain a comprehensive understanding of its condition, setting the stage for a successful rebuild. This methodical approach distinguishes a true engine rejuvenation from simply replacing parts. This leads to the next important step: inspecting, measuring, and deciding which components need replacement.
Making the Critical Call: Inspect, Measure, Decide
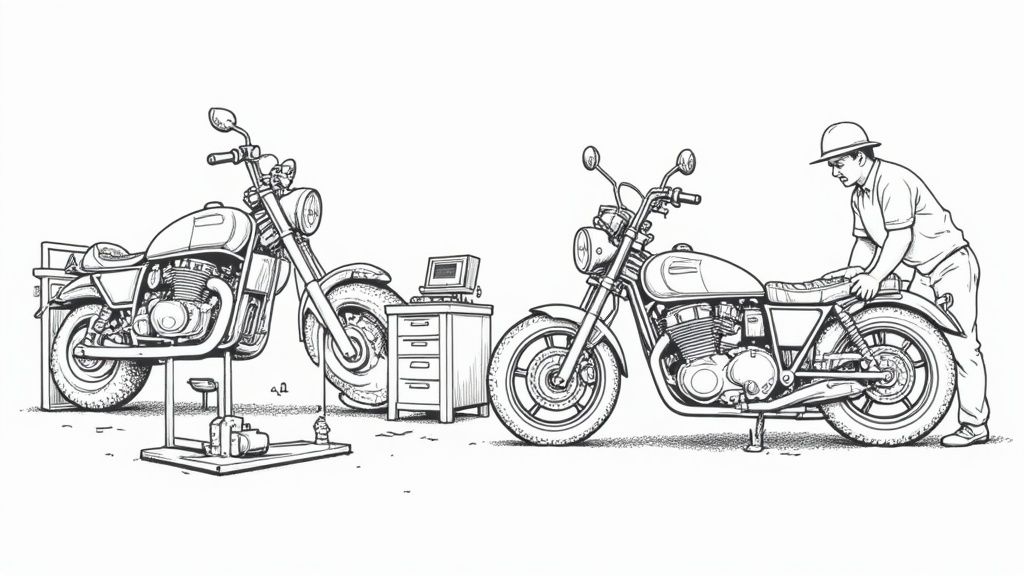
After carefully disassembling and cleaning your motorcycle engine, the next vital step in rebuilding it involves inspection and measurement. This phase transitions your project from taking things apart to precise engineering. You’ll determine which parts can be salvaged and which ones need replacing.
Assessing Cylinder Taper and Out-of-Round Conditions
One of the initial checks involves measuring cylinder taper and out-of-roundness. These conditions arise from wear and tear, impacting piston ring sealing and overall engine performance. Using a dial bore gauge, take measurements of the cylinder bore at various points along its length and at different angles. This data will reveal any deviations from the manufacturer’s specifications and indicate whether honing or reboring is necessary.
Checking Bearing Clearances and Valve Seating Surfaces
Next, turn your attention to bearing clearances. These small gaps between bearings and journals are crucial for proper lubrication and smooth engine operation. You can use Plastigauge or a micrometer to accurately measure these clearances. If the values fall outside the acceptable range, you’ll need to replace the bearings.
Inspect the valve seating surfaces for any signs of pitting, burning, or warping. A correctly seated valve is essential for maintaining compression and preventing leaks. A visual inspection can often identify issues, but a valve spring compressor allows for a more thorough examination of the valve and seat.
Identifying Hidden Problems: Cracks and Wear Patterns
Beyond measurements, careful observation is key. Look for hairline cracks that might not be immediately obvious. These cracks can lead to major engine failures if overlooked. A magnifying glass and proper lighting are invaluable tools for this detailed inspection.
Wear patterns on components provide insights into the engine’s history and potential problems. Scoring on cylinder walls, for example, can suggest lubrication issues. Discoloration on bearings can indicate excessive heat or incorrect clearances. Understanding these clues informs your rebuild strategy.
Machining Versus Replacement: A Data-Driven Decision
With your measurements and observations in hand, you’re now ready to make informed decisions about machining or replacing parts. If cylinder taper is within acceptable limits, honing can restore the surface. Excessive taper or damage, however, will require reboring and oversized pistons.
Similarly, lightly worn bearings might be usable after polishing, while heavily scored or damaged bearings will need replacing. This decision-making process involves balancing cost and performance. Even limited engine rebuild data can provide valuable insights into potential reliability issues, enabling more informed decisions. You can learn more about statistical significance with small samples.
To help guide your decisions, consult the table below for standard component measurements and acceptable tolerances:
Critical Component Measurements and Tolerances
This table provides standard specifications and acceptable tolerances for key motorcycle engine components across different engine types.
| Component | What to Measure | How to Measure | Acceptable Tolerance Range |
|---|---|---|---|
| Cylinder Bore | Diameter at multiple points along the cylinder length | Dial Bore Gauge | Varies depending on engine type and manufacturer specifications; typically within 0.001” - 0.005” for taper and out-of-roundness |
| Crankshaft Main Bearings | Clearance between bearing and journal | Plastigauge or Micrometer | Varies depending on engine type and manufacturer specifications; typically within 0.001” - 0.003” |
| Connecting Rod Bearings | Clearance between bearing and journal | Plastigauge or Micrometer | Varies depending on engine type and manufacturer specifications; typically within 0.001” - 0.003” |
| Valve Stem | Diameter | Micrometer | Varies depending on engine type and manufacturer specifications; typically within 0.0005” of the specified diameter |
| Valve Guide | Inside Diameter | Small Hole Gauge | Varies depending on engine type and manufacturer specifications; typically within 0.001” - 0.003” clearance with the valve stem |
This table offers a general guideline. Always refer to your specific motorcycle’s service manual for precise measurements and tolerances.
Balancing Performance Goals and Budget Constraints
Your rebuild goals—whether restoring original performance, boosting power, or simply ensuring reliability—will influence your part choices. High-performance components can be attractive, but they often come with a higher price tag.
Balancing performance aspirations with budget realities is an essential part of the rebuild process. Prioritize necessary replacements, such as worn bearings or damaged pistons, while exploring cost-effective options for less critical components. This balanced approach will ensure a reliable and well-performing engine without breaking the bank.
This thorough inspection and measurement process is crucial for a successful motorcycle engine rebuild. By understanding what to look for, how to measure, and how to interpret your findings, you transition from guesswork to precision engineering, ultimately resulting in a rebuilt engine that is both dependable and performs according to your expectations.
Rebuilding With Precision: Assembly That Stands The Test
After inspection and measurement, the assembly phase is where your engine’s reliability and performance truly take shape. This stage demands meticulous attention to detail, using professional techniques to ensure a rebuild that lasts.
Meticulous Cleaning: A Foundation for Success
Before assembly begins, thorough cleaning of all components is paramount. This goes beyond a simple wipe-down; it involves removing embedded contaminants, often invisible to the naked eye. Ultrasonic baths are excellent for cleaning complex parts with intricate passages, effectively removing stubborn deposits. Specialized chemical solutions, designed for engine components, can dissolve grime and old gasket material without causing damage. This meticulous cleaning creates the ideal foundation for optimal component interaction and longevity.
Precision Preparation: Honing, Lapping, and Bearing Installation
Proper component preparation is crucial for a successful rebuild. Cylinder honing, when performed correctly, creates a cross-hatching pattern on the cylinder walls. This pattern promotes proper oil retention, essential for piston ring lubrication and sealing. Valve lapping, a precise grinding process, ensures a perfect seal between the valve and valve seat, maximizing compression and preventing leaks. Bearing installation requires careful attention to oil clearances, the small gaps that allow proper oil flow and prevent bearing seizure. These clearances must be within manufacturer specifications for smooth engine operation.
The Assembly Sequence: Preventing Binding and Damage
The assembly process follows a specific sequence to prevent binding and component damage. Each component must be installed in the correct order and orientation. Master mechanics follow detailed diagrams and service manuals to ensure accuracy. Some components may require pre-lubrication or specific alignment before installation.
Torque Patterns and Incremental Tightening: Ensuring Structural Integrity
Torque patterns and incremental tightening procedures are essential for preventing warpage, especially for components like the cylinder head. These procedures involve tightening fasteners in a specific sequence and to specific torque values, often in multiple stages. This gradual tightening distributes pressure evenly, ensuring a strong, secure seal without distortion.
Critical Nuances: Piston Rings, Cam Timing, and Clearance Checks
Several critical nuances distinguish amateur rebuilds from professional-quality work. Piston ring orientation is vital for proper sealing and oil control; each ring has a specific position and direction. Cam timing must be verified to ensure the engine’s valves open and close at the correct intervals, crucial for performance and efficiency. Meticulous clearance checks throughout assembly ensure proper component fitment and prevent interference. These checks involve using feeler gauges and other precision tools to verify gaps are within specified tolerances. Engine rebuild frequency varies based on usage. Racing engines, like those in Radical cars, might require rebuilds every 40 hours. Street motorcycles typically last much longer. Rebuilding these high-performance engines can cost $3,000 to $6,000, depending on the shop.
Example: Installing a Crankshaft
Crankshaft installation highlights the importance of precision. The crankshaft must be properly aligned within the engine case, and its bearings lubricated with assembly lube. Main bearing caps are then torqued down incrementally, following the manufacturer’s specified torque pattern. This ensures proper bearing seating and prevents crankshaft damage.
Example: Assembling the Cylinder Head
Cylinder head assembly requires similar precision. The head gasket must be positioned correctly to prevent leaks. Head bolts are tightened incrementally and in a specific sequence to prevent warping. Finally, the valves and rocker arms are installed, and their clearances checked and adjusted.
By adhering to professional techniques, meticulously cleaning and preparing components, and following the correct assembly sequence, you can rebuild your motorcycle engine with precision and confidence. This detailed approach ensures not just a functional engine, but one that performs optimally and reliably for years to come, setting the stage for the final, crucial step: break-in and testing.
From Bench To Road: Break-In Secrets That Extend Engine Life
After meticulously rebuilding your motorcycle engine, the break-in period represents the final, crucial stage. This often-overlooked phase is essential for ensuring the longevity and optimal performance of your revitalized engine. It’s the bridge between the workbench and the open road, transforming a static assembly into a powerful, reliable machine.
Pre-Installation Testing: Ensuring A Solid Foundation
Before installing the engine back into the frame, professional builders conduct a series of tests to verify its integrity. A leak-down test is crucial for confirming proper cylinder sealing. This test measures the percentage of air pressure loss within each cylinder, identifying any potential issues with piston rings, valves, or head gaskets. Verifying oil pressure is equally important, confirming proper lubrication pathways and preventing oil starvation and premature wear. These pre-installation checks serve as a final quality control inspection, establishing a solid foundation for the break-in process.
The Break-In Ritual: Seating Rings and Building Oil Films
The break-in process involves a specific procedure designed to gradually seat the piston rings and establish protective oil films on new components. This involves running the engine under controlled conditions, varying the RPM within a prescribed range. This careful conditioning allows new parts to mate and wear in harmoniously, preparing them for the demands of the open road. Avoiding high RPMs and prolonged idling during the initial miles is critical.
This controlled approach allows the piston rings to properly seat against the cylinder walls, creating a tight seal essential for optimal compression and power. It also allows the engine’s components to reach operating temperature, facilitating proper expansion and mating for long-term reliability. The gradual process also enables protective oil films to form on moving parts, reducing friction and minimizing wear.
RPM Ranges: The Sweet Spot For Break-In
Targeting specific RPM ranges during the break-in period is vital. Manufacturer recommendations should always guide this process, but generally, varying the RPM between 2,000 and 4,000 RPM for the first few hundred miles is recommended. This “sweet spot” allows the engine to work through its initial phases without undue stress, promoting even wear and optimal seating of components. This varied RPM range exposes different components to a spectrum of operating conditions, ensuring proper function and long-term durability. You might be interested in: How to master motorcycle maintenance.
Troubleshooting Post-Rebuild Issues: Addressing Common Concerns
Even with meticulous rebuilding and break-in procedures, occasional issues can arise. Oil leaks, unusual noises, or hesitation are common post-rebuild concerns. Professional mechanics often use diagnostic tools and processes to pinpoint the root cause of these problems. An oil leak, for example, could originate from a loose oil filter, a damaged gasket, or even a cracked engine case. Unusual noises might indicate a valve adjustment issue, a loose component, or a more serious internal problem. Hesitation could stem from carburetor synchronization problems, ignition timing issues, or fuel delivery problems. Understanding these potential issues empowers owners to address them effectively.
Real-World Examples: Illustrating The Importance of Proper Break-In
Consider two identical motorcycle engines rebuilt concurrently. One undergoes a meticulous break-in procedure, while the other is subjected to immediate high-RPM operation. The properly broken-in engine will likely experience significantly less wear, maintain higher compression, and deliver more consistent performance throughout its life. The engine subjected to harsh initial conditions may suffer from premature wear, reduced compression, and potentially catastrophic failure. This underscores the direct correlation between a proper break-in and the longevity of a rebuilt engine. This protects your investment of time and resources, ensuring thousands of miles of reliable performance.
For a comprehensive solution for maintaining detailed records of your motorcycle’s rebuild and future maintenance, consider Auto Service Logger. This platform provides a centralized digital hub to log, store, and access all your vehicle’s maintenance history, offering peace of mind and simplified record-keeping for years to come.