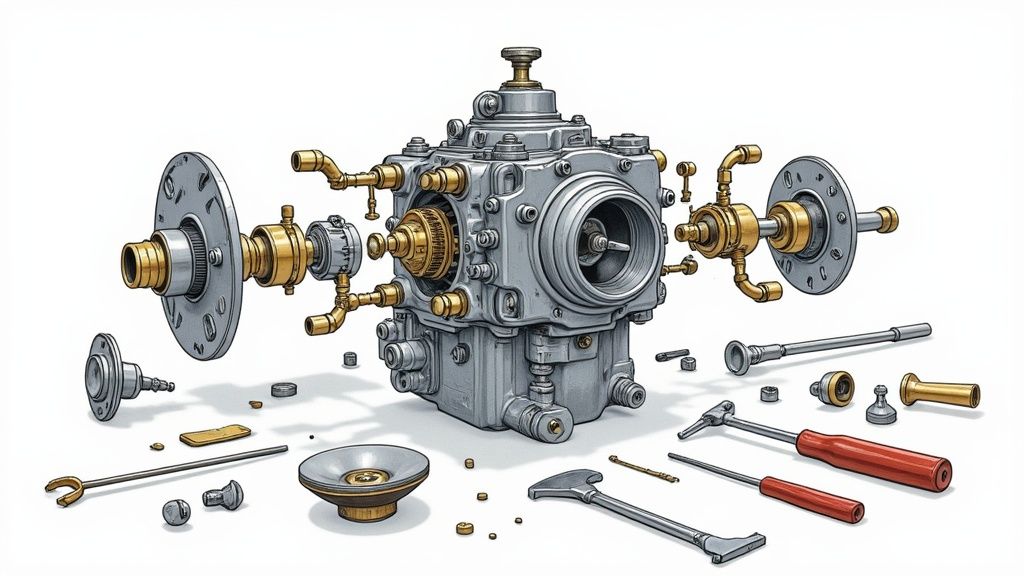
How to rebuild motorcycle carbs: Top Tips
The Inner Workings of Motorcycle Carburetors
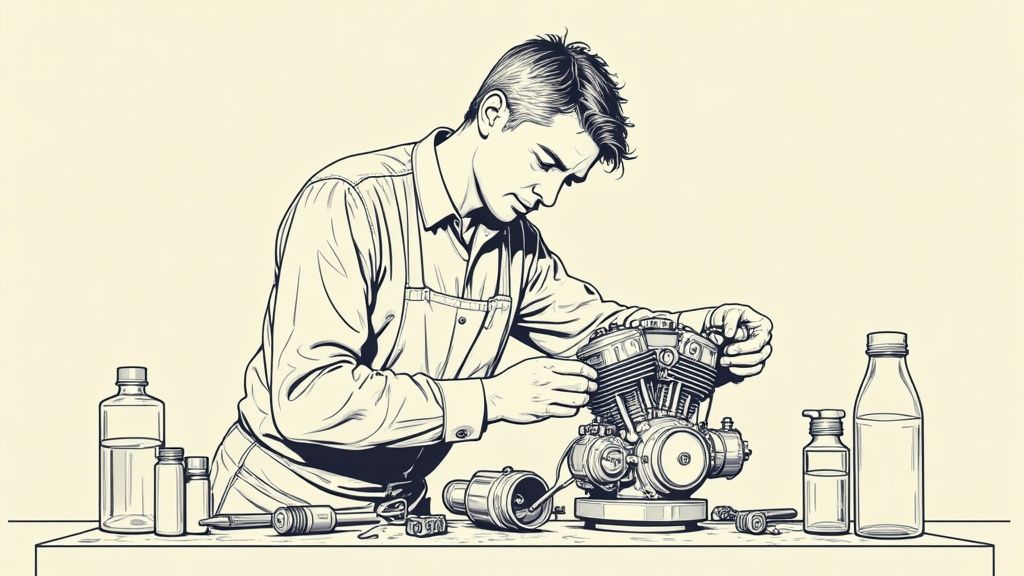
Rebuilding a motorcycle carburetor begins with understanding its function. These devices are the core of your motorcycle’s fuel system. They transform liquid fuel into a combustible mixture by blending it with air, which then powers the engine. This process relies on a key principle of physics: the Venturi effect.
The Venturi effect describes the pressure drop in a fluid as it moves through a constricted space. Think of placing your thumb over the end of a garden hose. The water flows faster, right? That increased velocity in the narrowed area reduces pressure, which allows the carburetor to pull fuel into the airstream. This precise air-fuel mixture is essential for optimal engine performance.
Different Carburetor Designs
Carburetors come in various forms, each with unique features and advantages. Knowing your motorcycle’s carburetor type is a crucial step in a successful rebuild.
- Slide Carburetors: These use a vertically moving slide within the carburetor bore to control airflow and, in turn, fuel delivery. They’re known for simple design and responsive performance.
- Butterfly Carburetors: These carburetors use a rotating butterfly valve to manage airflow. Their versatility makes them a common choice for a wide range of motorcycles.
- Constant Velocity (CV) Carburetors: CV carburetors use a vacuum-operated slide, delivering consistent fuel across the RPM range. They’re often preferred for smoother operation and better fuel economy.
Understanding these differences simplifies troubleshooting and rebuilding. A sticking slide in a slide carburetor can cause sluggish acceleration, for instance. Meanwhile, a damaged diaphragm in a CV carburetor can lead to rough idling. This knowledge helps pinpoint the problem before starting the rebuild process.
The Enduring Appeal of Carburetors
Despite advancements in fuel injection technology, motorcycle carburetors remain popular due to their straightforward design and ease of repair. Their basic function, mixing air and gasoline using the Venturi principle, has remained largely unchanged since the early days of motorcycling. Learn more at Universal Technical Institute. Their lack of reliance on computer adjustments and pressurized fuel lines makes them particularly valuable in racing. However, this simplicity can occasionally lead to issues requiring a rebuild, a topic we’ll explore in the following sections.
Telltale Signs Your Carbs Are Crying for Help
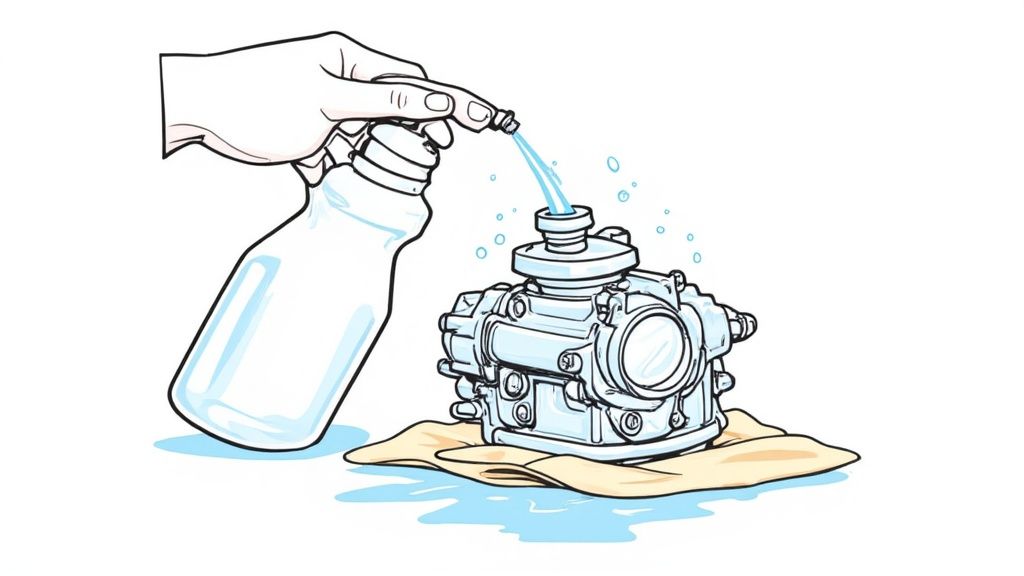
Just like any complex machine, your motorcycle communicates its needs. Understanding these signs, especially regarding your carburetors, is vital for optimal performance. Ignoring these warnings can lead to significant problems. This section focuses on recognizing the signals indicating your carbs need attention.
Identifying Common Carburetor Problems
Several symptoms point to carburetor issues. A rough idle is one of the most noticeable. This might include fluctuating engine speed, stalling, or difficulty starting. Hesitation or sputtering during acceleration also indicates a problem. This suggests the carburetor isn’t delivering the correct air-fuel mixture under increased power demands.
Another key symptom is poor fuel economy. If your motorcycle suddenly uses more gas, a rich fuel mixture from a faulty carburetor could be the culprit. Backfiring, where unburnt fuel ignites in the exhaust, often results from a lean air-fuel mixture. Black smoke from the exhaust confirms an excessively rich mixture, while overheating can sometimes stem from a lean mixture.
Diagnosing Specific Issues
While these symptoms are generally consistent, some variations exist between motorcycle models. Certain Hondas are known for issues with their CV carburetors, especially diaphragm failures causing erratic idling. Harley-Davidson motorcycles, particularly those with Keihin carburetors, can experience clogged pilot jets, leading to rough running and coughing. Triumphs, meanwhile, can suffer from worn throttle shafts, causing air leaks and diminished performance.
Rebuilding motorcycle carburetors is a long-standing skill, especially important for vintage motorcycle enthusiasts. As carburetors became more complex by the 1970s and 80s with models like the Keihin CV and butterfly types, regular maintenance became crucial. Keihin carbs, common on Harleys, often faced issues like coughing due to their small pilot jets, susceptible to carbon buildup. This buildup negatively impacts performance. Many riders in 2013 preferred maintaining their own carburetors, appreciating DIY repairs. Learn more about carburetor rebuilds here.
From Symptoms to Solutions
Identifying the root cause of your carburetor problems is essential for an effective rebuild. By recognizing your motorcycle’s specific symptoms, you can save time and money by avoiding unnecessary part replacements. Accurately diagnosing the problem allows you to address the specific issue, whether it’s a clogged jet, a worn diaphragm, or a leaking throttle shaft. This understanding paves the way for a successful rebuild and a smoothly running motorcycle. Now, let’s explore the rebuild process itself.
Gearing Up: Tools That Make or Break Your Carburetor Rebuild
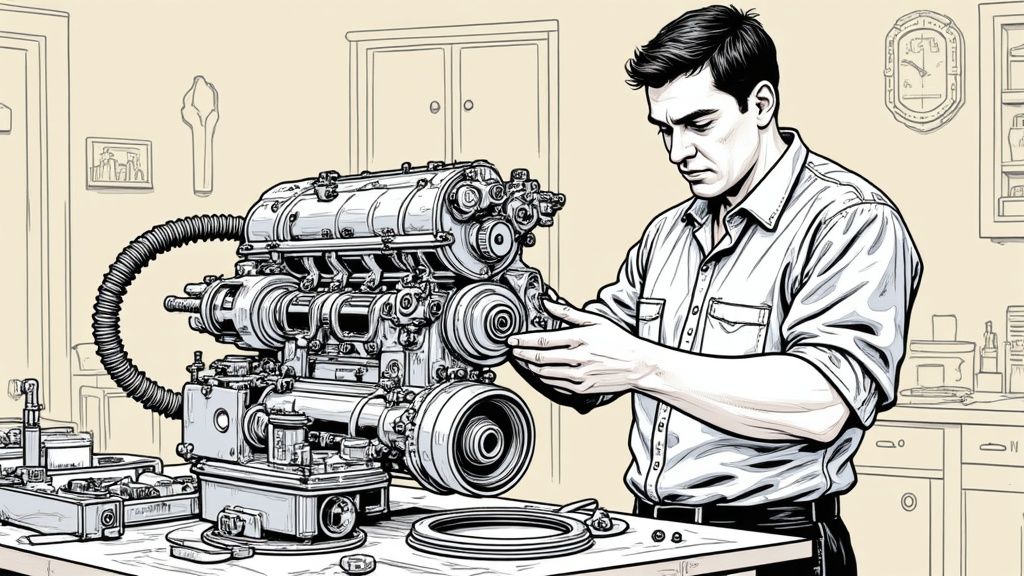
Having the right tools for a motorcycle carburetor rebuild can make all the difference. A frustrating, messy project can be transformed into a satisfyingly precise and efficient one. It’s not just about having some tools, it’s about having the correct tools. Through research and talking with experienced mechanics, we’ve compiled a list of essentials for a successful carburetor rebuild.
Essential Tools For Success
Beyond your standard set of screwdrivers, some specialized tools are essential for a smooth rebuild. These tools simplify the disassembly, cleaning, and reassembly processes, making them more accurate and less prone to error.
- Carburetor Screwdriver Set: These specialized screwdrivers are designed with tips that fit the often delicate carburetor screws perfectly. This precise fit helps prevent stripping, a common problem that can bring your rebuild to a screeching halt.
- Carb Cleaner: A good carb cleaner is vital for dissolving the varnish and deposits that build up inside a carburetor. Choosing the right cleaner for your specific carburetor type is an important step.
- Compressed Air: Compressed air is key for clearing out passages and jets. This ensures proper airflow after the rebuild is complete.
- Small Parts Trays: These trays are invaluable for organizing small parts as you disassemble the carburetor. This simple step can save you hours of searching and frustration, streamlining the entire reassembly process.
Specialized Tools: Needs vs. Wants
While the tools above are essential, others can enhance the process but aren’t strictly required. These tools may offer more convenience or precision but come at an additional cost.
- Ultrasonic Cleaner: An ultrasonic cleaner can elevate your cleaning process, removing even the most stubborn deposits. However, it’s a more significant investment and might not be necessary for occasional rebuilds.
- Carburetor Synchronization Tool: A carburetor synchronization tool is extremely helpful, particularly for motorcycles with multiple carburetors. It ensures that all carburetors are working together efficiently. While helpful, it’s not a necessity for single-carburetor motorcycles.
To help illustrate the differences between basic and professional-grade tools, take a look at the comparison table below:
Essential Carburetor Rebuild Tools Comparison A comparison of necessary tools for rebuilding motorcycle carburetors, from basic to professional grade.
| Tool Type | Basic Option | Professional Option | Purpose |
|---|---|---|---|
| Screwdriver Set | Generic screwdriver set | Carburetor specific screwdriver set | Removing and tightening carburetor screws |
| Carb Cleaner | Aerosol spray cleaner | Dip-style cleaner | Dissolving varnish and deposits |
| Compressed Air | Canned air | Air compressor | Clearing passages and jets |
| Parts Trays | DIY containers | Dedicated parts tray with compartments | Organizing small parts |
As you can see, investing in professional-grade tools often provides more specialized functionality and can significantly improve the quality of your rebuild.
The Importance Of A Quality Rebuild Kit
Just as important as the right tools is a quality carburetor rebuild kit. These kits usually contain crucial components like gaskets, o-rings, and jets. A quality kit ensures a proper seal and optimal performance post-rebuild. Always confirm the kit’s compatibility with your specific carburetor model.
Workspace Organization: A Mechanic’s Secret Weapon
A well-organized workspace is often overlooked but critically important to a smooth rebuild. Experienced mechanics know that losing a tiny jet or screw can derail an entire project. A clean, organized space minimizes this risk and makes the whole rebuild process more efficient. A magnetic tray can be a lifesaver, keeping screws and other small metal parts securely in place.
Choosing the right tools and organizing your workspace can significantly impact the success of your carburetor rebuild. With proper preparation, a potentially frustrating task becomes a rewarding experience, resulting in a smoothly running motorcycle.
Breaking Down Carburetor Disassembly

Disassembling a motorcycle carburetor requires a meticulous approach, much like a surgeon performing an operation. Precision and thorough documentation are key to a successful rebuild. A careful disassembly sets the stage for a smooth reassembly and ultimately, a properly functioning carburetor.
Photographing Your Progress: A Visual Guide
Before you even think about turning a wrench, grab your camera. Documenting every step with clear, well-lit photos is essential. These images serve as a visual roadmap during reassembly, eliminating the guesswork and preventing misplaced parts. Consider it your personalized instruction manual.
Organizing the Chaos: Small Parts Management
As you disassemble the carburetor, implement a system for organizing small parts like screws, jets, and other tiny components. Small, labeled containers or a magnetic tray can be invaluable. Even simple household items like ice cube trays or egg cartons can create organized compartments. This simple step can save you hours of frustration later.
Handling Delicate Components: The Gentle Touch
Certain carburetor parts, like the float needle and jets, demand extra care. Handle these components with a gentle touch, avoiding excessive force or accidental drops. Even seemingly minor damage can significantly impact performance. Using the correct tools, such as a proper carburetor screwdriver set, is also crucial for preventing damage.
Tackling Common Challenges: Stuck Parts and Spills
Seized screws and stubborn float bowls are common obstacles during disassembly. Penetrating oil can help free stuck screws without stripping the threads. For stubborn float bowls, gentle tapping and patience are key. Protecting your components is paramount. A large rubber work mat can safeguard delicate parts and catch stray screws. Keeping extra rags and spill containers on hand is crucial for managing fuel spills, which are common during this process. Carburetor cleaner is another essential tool for loosening stuck parts without causing damage. The entire rebuild process, including disassembly and reassembly, typically takes about two hours, depending on the carburetor’s complexity and your experience. Learn more helpful tips from this article on motorcycle carburetor rebuilding.
The Mindset of a Pro: Patience and Observation
Experienced mechanics approach disassembly with patience and a keen eye for detail. They understand that rushing the process can lead to errors and damaged components. They carefully examine each part as it’s removed, noting its position and condition. This methodical approach paves the way for a successful rebuild. Documenting the process in a service log, such as Auto Service Logger, creates a comprehensive record of the work performed.
By implementing these techniques, you’ll not only master the mechanics of carburetor disassembly but also cultivate the mindset essential for a smooth and successful rebuild. This meticulous approach forms a solid foundation for the next stage: cleaning and inspection.
Degreasing the Details: Motorcycle Carburetor Cleaning
After carefully disassembling your motorcycle’s carburetor, the next crucial step is cleaning. This isn’t simply about aesthetics; it’s about restoring function. Effective cleaning is the difference between a quick fix and a long-term solution.
Beyond the Basics: Advanced Cleaning Techniques
While a can of carburetor cleaner has its uses, experienced mechanics understand that simply spraying down components isn’t enough to tackle stubborn deposits and restore peak performance.
- Ultrasonic Cleaning: Ultrasonic cleaners have become a game-changer in professional carburetor rebuilding. They use high-frequency sound waves to create microscopic bubbles in a cleaning solution. These bubbles implode against carburetor parts, effectively dislodging even the toughest varnish and grime.
- Budget-Friendly Options: While ultrasonic cleaners offer exceptional cleaning power, they represent an investment. A more budget-conscious approach combines soaking parts in an appropriate cleaning solution with gentle scrubbing using soft brushes and pipe cleaners. This method, though more time-consuming, can yield impressive results.
Choosing the Right Cleaning Solution
Selecting the correct cleaning solution is paramount. Some chemicals can damage specific carburetor materials. Harsh solvents, for example, can deteriorate rubber o-rings and gaskets. Always refer to your carburetor’s service manual or consult a knowledgeable parts supplier for guidance on compatible solutions.
To help you choose the right cleaning solution, we’ve put together a handy guide:
Carburetor Cleaning Solutions Guide An overview of different cleaning solutions for motorcycle carburetor components and their applications
| Cleaning Solution | Best For | Avoid Using On | Effectiveness | Safety Notes |
|---|---|---|---|---|
| Commercial Carburetor Cleaner | General cleaning of metal parts | Rubber, plastic, some finishes | High | Use in a well-ventilated area; wear gloves |
| Pine-Sol or Simple Green | Removing varnish and grime | Rubber, plastic (test in an inconspicuous area first) | Moderate | Less harsh than commercial cleaners |
| Baking Soda and Water Paste | Mild cleaning of delicate parts | N/A | Low | Gentle and non-corrosive |
| Ultrasonic Cleaning Solution | Use with an ultrasonic cleaner for deep cleaning | Varies depending on the solution | High | Follow manufacturer’s instructions |
This table summarizes the various cleaning options available, their ideal applications, and important safety precautions. Remember, choosing the appropriate solution can prevent damage to sensitive carburetor components.
The Importance of Careful Inspection
Cleaning isn’t solely about removing dirt; it’s an ideal opportunity for inspection. Once the parts are clean, carefully examine them for wear and tear. Professionals often employ a magnifying glass to spot subtle problems.
- Float Bowl Check: Inspect the float bowl for any signs of wear or corrosion, which can impact fuel delivery.
- Throttle Shaft Scrutiny: Even minor wear on the throttle shaft can introduce air leaks, leading to performance issues.
- Jets and Passages Examination: Inspect all jets and passages for clogs or damage. A tiny piece of debris can significantly impact performance.
Tackling Stubborn Varnish: Tips from the Pros
Even after a thorough cleaning, some varnish deposits may linger. Here’s a trick employed by seasoned mechanics: soaking the parts in a mixture of pine-sol and hot water. This surprisingly effective method can loosen stubborn residue. A paste of baking soda and water offers a gentle cleaning solution for delicate components. Always test any unconventional cleaning method on a hidden area first to ensure compatibility.
By employing these meticulous cleaning and inspection practices, you’ll ensure not just a visually appealing rebuild but a complete restoration of your carburetor’s functionality, resulting in improved performance and longevity.
Bringing It All Together: Carburetor Reassembly and Fine-Tuning
After carefully cleaning and inspecting each component of your carburetor, the reassembly process is the final step towards achieving exhilarating performance. This isn’t just a simple reversal of the disassembly; it demands precision, attention to detail, and a thorough understanding of how each part interacts.
The Reassembly Puzzle: Putting the Pieces Back Together
The correct reassembly sequence is just as crucial as proper disassembly. Refer to the photographs you took during disassembly and consult the diagrams in your service manual. This methodical approach prevents forcing parts or installing them incorrectly. For instance, ensure the float needle sits correctly before attaching the float bowl, and verify all jets are installed and tightened properly. This prevents damage and ensures proper function.
-
Gaskets and O-rings: These small components create a crucial seal. Lubricate them with a compatible lubricant before installation to prevent leaks and ensure optimal operation.
-
Screws and Fasteners: Tighten all screws and fasteners to the specified torque. Overtightening can strip threads or damage components, while under-tightening can cause leaks or loose parts.
Fine-Tuning for Optimal Performance: The Art of Adjustment
After reassembly, several key adjustments often get overlooked, yet they significantly influence your motorcycle’s performance.
-
Float Height: This setting controls the fuel level within the float bowl. An incorrect setting can lead to flooding or fuel starvation. Consult your service manual for the correct specifications.
-
Air Screw: This screw adjusts the air-fuel mixture at idle, impacting smoothness and fuel efficiency. Adjust it incrementally, observing the engine’s response.
-
Throttle Cable: Ensure the throttle cable operates smoothly. Binding cables can negatively affect performance, similar to the issues discussed in this article on BMW R50/2 carburetor problems.
Bench Testing: A Professional’s Secret
Before reinstalling the carburetor, consider bench testing. This technique simulates the carburetor’s function off the engine, allowing you to identify potential issues before installation.
Synchronizing Multiple Carburetors: Achieving Harmony
If your motorcycle has multiple carburetors, synchronization is vital. This process ensures all carburetors deliver equal amounts of fuel and air, leading to balanced performance. Tools like carburetor synchronizers simplify this process.
Troubleshooting: Overcoming Common Reassembly Challenges
Even with meticulous reassembly, issues can arise. Leaks, often stemming from damaged gaskets, o-rings, or loose components, are common. Inspect all connections and ensure proper sealing. If the engine runs rough, double-check the float height, air screw adjustment, and synchronization.
From Rebuild to Road: The Mindset of Excellence
Maintain a methodical approach throughout the reassembly process, documenting each step. This organized approach minimizes errors and ensures a smooth rebuild. A successful rebuild requires patience, observation, and methodical precision. This mindset helps avoid recurring issues and ensures optimal motorcycle performance.
Ready to meticulously track your motorcycle’s maintenance? Auto Service Logger offers a secure platform for logging and managing service records. From carburetor rebuilds to oil changes, maintain a comprehensive history with Auto Service Logger.