How to Clean Motorcycle Chain: The Ultimate Guide for Maximum Performance and Longevity
Understanding Different Types of Motorcycle Chains
Every motorcycle chain has unique characteristics that affect how it should be maintained. Knowing your chain type is essential for proper cleaning and care. The two main categories are sealed and non-sealed chains, each with distinct maintenance needs.
Non-Sealed Chains
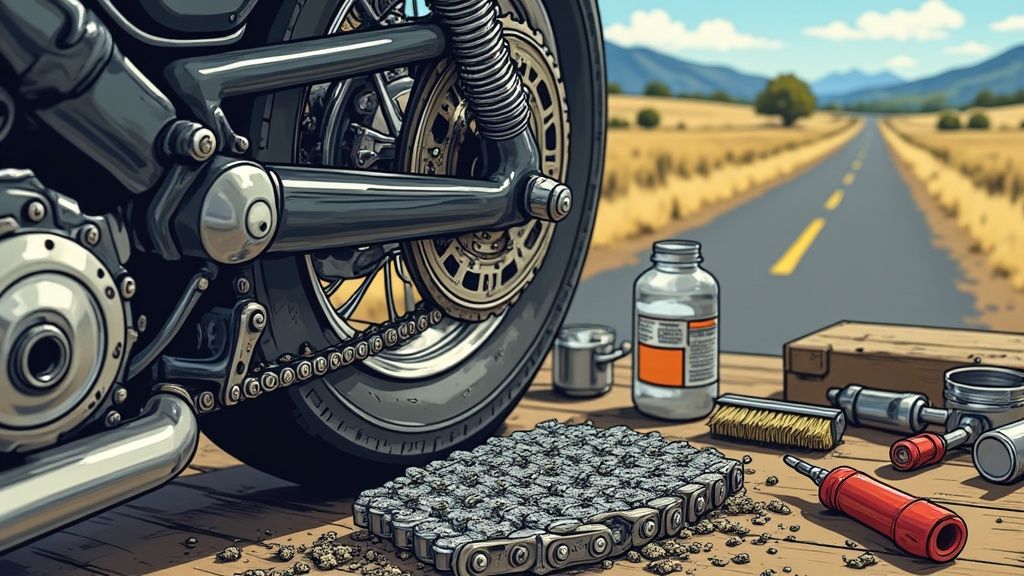
Non-sealed chains are basic but require frequent attention. Since their components are directly exposed to water, dirt, and debris, they need regular cleaning and lubrication. Without proper care, these chains wear out quickly and can stretch or become damaged. Regular maintenance keeps them working smoothly and extends their lifespan.
Sealed Chains: O-Ring and X-Ring
O-ring and X-ring chains represent modern chain technology. These sealed chains use rubber rings between their plates to keep lubricant in and dirt out. This smart design reduces friction and makes the chain last longer. While they need less frequent maintenance than non-sealed chains, they still require cleaning and lubrication every 1,000 to 3,000 kilometers. Learn more about sealed chain maintenance here.
Identifying Your Chain Type
You can easily spot your chain type through visual inspection. Look between the chain plates - if you see rubber rings, you have a sealed chain. No rings means it’s non-sealed. This identification matters because each type needs specific care. Using incorrect cleaning methods can damage sealed chains or leave non-sealed chains without proper lubrication. With this knowledge, you can clean your chain correctly and keep it in top condition.
Creating Your Perfect Maintenance Schedule
A clean motorcycle chain plays a key role in both performance and safety. Setting up the right cleaning schedule takes some thought, as you need to account for your specific riding habits and conditions. Let’s walk through how to build a maintenance plan that works for you.
Factors Influencing Your Schedule
Your riding environment and style heavily affect how often you should clean your chain. Dusty trails and muddy conditions demand more frequent cleaning compared to smooth pavement. Non-sealed chains need cleaning every 100-500 miles since they can’t hold lubricant as well as sealed types. Learn about proper chain maintenance to keep your bike running smoothly. You might also find this guide helpful: How to master vehicle maintenance record-keeping.
Establishing a Baseline Schedule
Start with checking your chain every 500 miles as a basic rule. During these checks, look for loose links, kinks, and dirt buildup. If you have a sealed chain, cleaning every 1,000-3,000 miles usually works well. Just remember to adjust based on how and where you ride.
Practical Tracking Methods
Keep tabs on your maintenance with a simple notebook or digital tool like Auto Service Logger. Regular tracking helps you spot patterns and tweak your schedule as needed. Plus, having detailed maintenance records can help with resale value and warranty claims.
Adapting to Changing Conditions
Stay flexible with your schedule. Rough weather and off-road adventures may call for extra cleanings. If your bike sits unused for a while, clean and oil the chain before riding again. Pay attention to how different conditions affect your chain and adjust your care routine accordingly.
Selecting Professional-Grade Cleaning Solutions
Picking the right cleaner is essential for proper motorcycle chain care. While the number of products can be overwhelming, knowing what qualities to look for helps narrow down your options and ensures your chain stays in top condition.
Understanding Your Options
Chain cleaners come in several forms, each with distinct advantages. Dedicated chain cleaners come pre-formulated specifically for motorcycle chains and are available as sprays or aerosols for simple use. Some riders use kerosene or diesel, though these harsh substances may damage O-rings and X-rings with repeated use. For basic maintenance, soap and water can work well but requires thorough drying afterward.
Eco-Friendly Alternatives
More motorcycle owners now prioritize environmental responsibility in their maintenance routines. Instead of traditional hydrocarbon-based products, many opt for bio-based solvents made from agricultural sources. Look for cleaners labeled as biodegradable and non-toxic that still deliver strong cleaning power. Simple daily wipe-downs with a dry cloth, combined with proper lubrication, offer the most eco-conscious approach. Learn more about chain cleaning importance.
Building Your Cleaning Kit
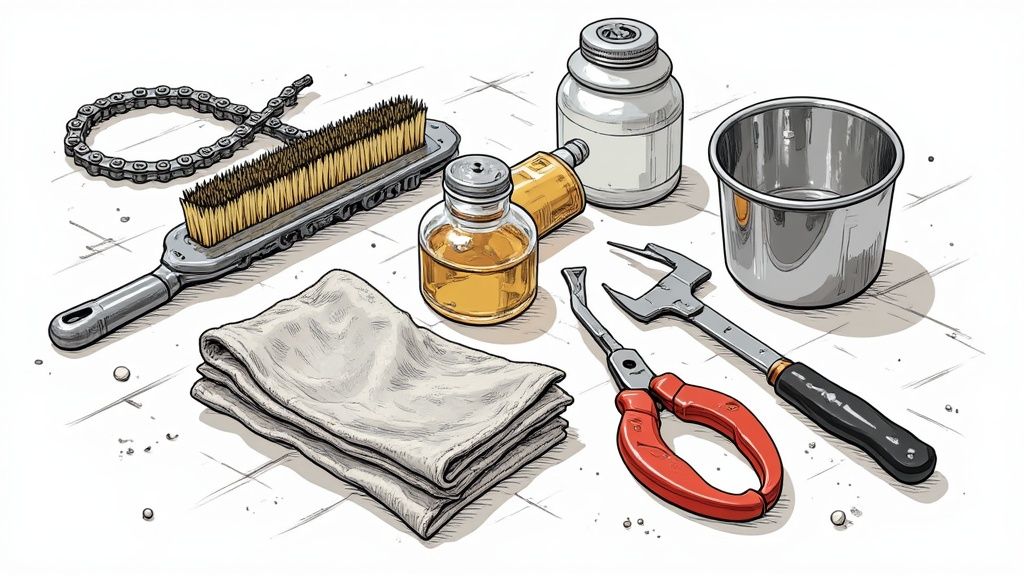
The right tools make chain cleaning quick and effective. Start with a quality chain cleaning brush designed to reach between links. Protect your hands with chemical-resistant gloves. Use a drain pan to catch runoff and prevent ground contamination. Keep plenty of rags or shop towels on hand for wiping and drying. You might be interested in: How to master vehicle maintenance record-keeping.
Evaluating Effectiveness and Cost
Balance immediate cleaning performance with long-term value when choosing products. Cheaper cleaners often require more frequent use and larger quantities to achieve the same results as quality solutions. Products that damage O-rings or X-rings lead to premature chain wear and costly replacements. Investing in premium cleaners and maintaining a regular cleaning schedule provides the best protection and value for your motorcycle chain.
Mastering Professional Cleaning Techniques
Proper motorcycle chain cleaning goes beyond basic maintenance. Here’s a detailed guide showing the professional techniques that will help extend your chain’s lifespan and keep your bike running smoothly.
Initial Assessment and Preparation
Start by checking your chain’s condition - look for dirt buildup and any damage. This helps determine how thorough your cleaning needs to be. Gather your supplies before starting: chain cleaner, cleaning brush, drain pan, protective gloves, and shop towels. Having everything ready makes the job much smoother.
The Cleaning Process
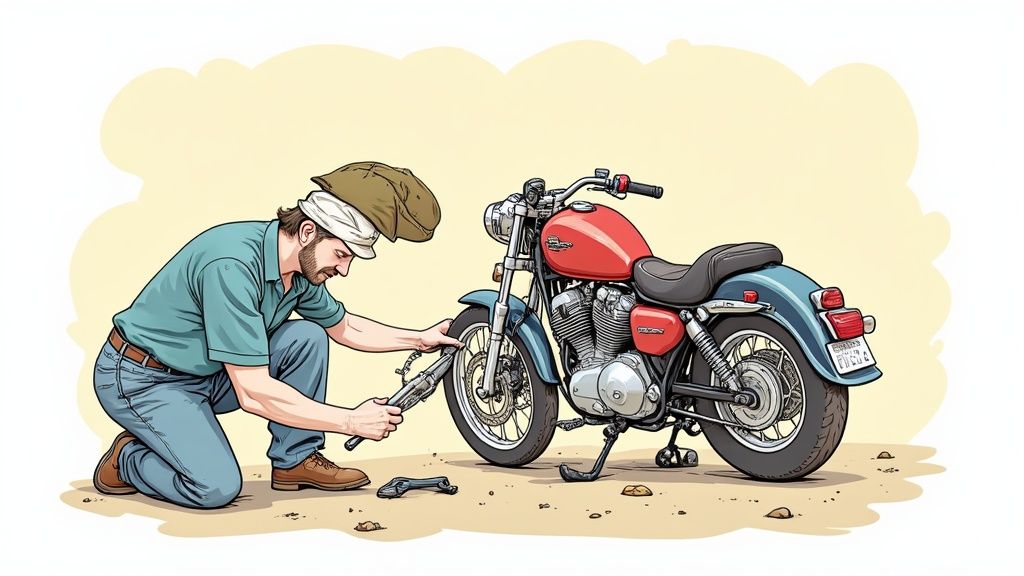
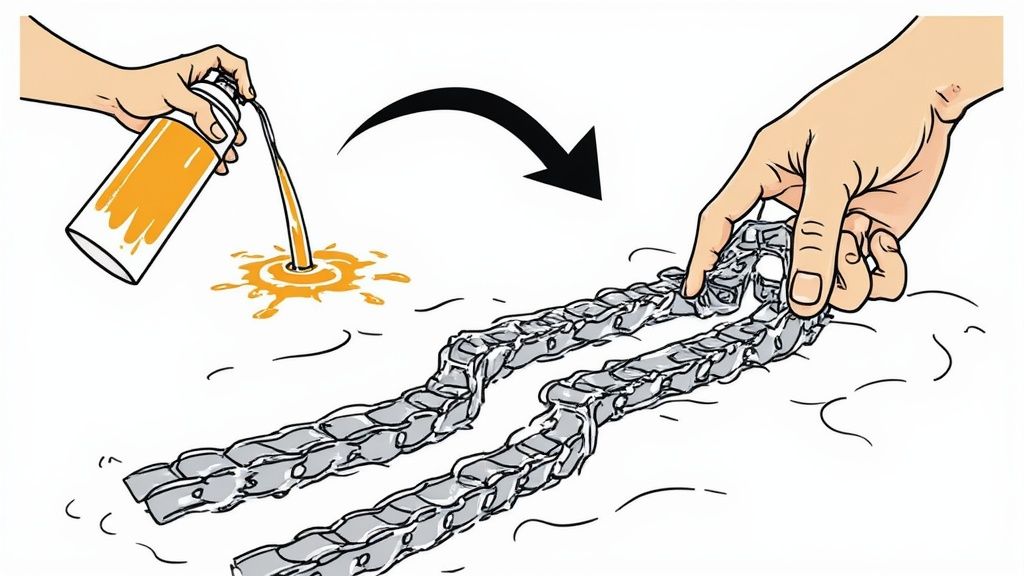
Place your motorcycle securely on a stand so the rear wheel spins freely. Position a drain pan under the chain to catch cleaning runoff. Apply chain cleaner thoroughly, making sure it gets between all the links. For tough grime, let the cleaner soak briefly. Use your brush to clean each section carefully, paying special attention to rollers and plates.
Specialized Approaches and Stubborn Grime
Sealed chains need gentle care - use cleaners made specifically for O-rings and X-rings to avoid damage. Non-sealed chains can handle stronger cleaners when needed. For very dirty chains, apply cleaner twice and let it soak longer. A firm brush works well for removing stuck-on dirt and grime.
Rinsing and Drying
Clean water removes all traces of cleaner and loosened dirt. This step is essential since leftover cleaner attracts new dirt and affects lubrication. Dry the chain completely with clean shop towels. You can speed up drying with compressed air if available. Good drying prevents rust and helps new lubricant stick properly.
Final Inspection and Lubrication
Check the clean chain for any missed spots or damage. Now is a good time to adjust chain tension if needed. Apply fresh lubricant following your bike manufacturer’s guidelines. Record your maintenance in a log - tools like Auto Service Logger help track chain care history. Regular cleaning and documentation leads to better performance and safer rides.
Optimizing Post-Cleaning Care
Taking care of your motorcycle chain after cleaning is essential for getting the best performance and lifespan. Proper drying, lubrication and tension checks make all the difference in keeping your chain running smoothly for many miles to come.
Drying Your Motorcycle Chain
Getting your chain completely dry before applying lubricant is critical. Any leftover water can weaken the lubricant’s effects and potentially lead to rust. Use clean shop towels to thoroughly wipe down the entire chain, making sure to get between all the links. For quicker drying, you can use compressed air - just be careful to direct the airflow along the chain’s length.
Choosing the Right Lubricant
Your choice of lubricant should match your chain type and how you ride. Chain waxes work well at keeping dirt away and staying in place. Chain oils lubricate effectively but need to be applied more often. If you have a sealed chain (O-ring or X-ring), make sure to use lubricant made specifically for that type to avoid seal damage. For more maintenance tips, see our guide on motorcycle maintenance record-keeping.
Applying Lubricant Effectively
Getting the lubricant application right makes a big difference. Put the rear wheel up so it can spin freely. Slowly turn the wheel while putting lubricant on the inner part of the lower chain section. This helps the lubricant get between all the moving parts. Don’t over-do it - too much lubricant attracts dirt and can spray onto your bike. A light, even coating works best.
Checking and Adjusting Chain Tension
Proper chain tension is vital for safety and performance. A loose chain can jump off, while one that’s too tight strains your drivetrain parts. Look up the right tension specs in your bike’s manual. Use a ruler to check the slack halfway between the front and rear sprockets. If needed, adjust using the mechanisms on your swingarm.
Post-Maintenance Testing
Take a quick test ride after finishing your chain maintenance. Listen for any odd noises or vibrations. Check the chain’s lubrication and tension again afterward. This final check confirms everything is working right and lets you fix any issues before longer rides. Keep detailed records of your chain maintenance using Auto Service Logger - it’s helpful to track the history for future reference.
Problem-Solving and Advanced Maintenance
A well-maintained motorcycle chain requires more than basic cleaning. Understanding how to identify issues and perform advanced maintenance helps prevent serious problems, extends chain life, and saves you money in repairs.
Diagnosing Common Chain Issues
Regular inspections can catch problems before they become severe. Watch for these key warning signs:
- Stiff Links: Poor lubrication or internal rust can cause links to become stiff, leading to faster wear
- Tight Spots: Areas that feel tight when rotating the wheel may indicate kinks or internal damage
- Excessive Slack: Too much chain slack risks derailment and uneven wear - check your manual for proper measurements
- Rust: Surface corrosion quickly weakens chain integrity and demands immediate attention
- Unusual Noises: Clicking, grinding or squeaking often points to lubrication issues or component damage
Addressing Rust and Wear
Light surface rust can often be removed using a wire brush and penetrating oil. However, heavy rust typically requires chain replacement since structural integrity may be compromised. Check your sprocket alignment if you notice uneven wear patterns, as misalignment accelerates wear across the entire chain system.
Alignment and Adjustment
Poor sprocket alignment creates extra stress and premature wear. Use a straight edge to verify both sprockets are properly aligned. Check and adjust chain tension regularly according to your bike’s specifications for optimal performance and longevity.
When to Clean vs. Replace
While regular cleaning helps, some issues require replacement. Deep pitting, significant rust, or persistently stiff links even after thorough cleaning indicate it’s time for a new chain. Most chains need replacement every 20,000-30,000 miles, though this varies based on riding conditions and maintenance habits.
Preventative Maintenance Strategies
Prevention is more effective than repairs. Follow these key practices:
- Regular Cleaning and Lubrication: Maintain a consistent schedule based on your riding conditions
- Proper Storage: Clean and lubricate before extended storage periods
- Inspections: Check regularly for wear, damage and proper tension
- Avoid Harsh Chemicals: Use only motorcycle-specific chain cleaners to protect O-rings and X-rings
Understanding these techniques helps keep your motorcycle chain performing optimally for maximum lifespan. Track your maintenance with a service record platform like Auto Service Logger to spot potential issues early.
Ready to take control of your motorcycle maintenance? Start your free trial with Auto Service Logger and experience organized service tracking.