How to Bleed Motorcycle Brakes: Your Complete Guide to Perfect Brake Performance
Understanding When and Why Your Brakes Need Bleeding
Proper brake maintenance is essential for motorcycle safety. A key part of this maintenance is bleeding the brakes to remove air bubbles that can build up in the brake lines. Understanding when to perform this critical task can help keep your braking system working effectively.
Recognizing the Signs
Your brakes will give clear signals when they need bleeding. The most common indication is a spongy or soft brake lever - when the lever feels mushy or requires more travel before engaging the brakes. Another warning sign is delayed braking response, where your motorcycle takes longer than normal to stop. Both of these symptoms point to air in the brake lines and should be addressed quickly for your safety.
The Importance of Brake Fluid
The brake fluid is critical to your motorcycle’s stopping power. This fluid can degrade as it absorbs moisture from the air over time. When this happens, the fluid’s boiling point drops, which can lead to vapor lock - a dangerous condition where air bubbles form in the lines and reduce braking power.
Most motorcycles with DOT fluid systems need annual brake fluid changes due to moisture absorption. Even mineral oil systems, which resist moisture better, benefit from yearly maintenance to ensure peak performance. Cars typically need fluid changes every three years, while motorcycles often require more frequent service. Learn more about brake fluid maintenance schedules at Bike Forums.
Environmental Factors and Maintenance
Your riding conditions affect how often you should bleed your brakes. High humidity and frequent wet-weather riding speed up moisture absorption in brake fluid. Extended periods without use can also allow more time for moisture to build up in the system. Regular brake maintenance, including bleeding, remains important even for motorcycles that aren’t ridden often. Being aware of these factors helps keep your brakes performing well.
Building Your Essential Brake Bleeding Toolkit
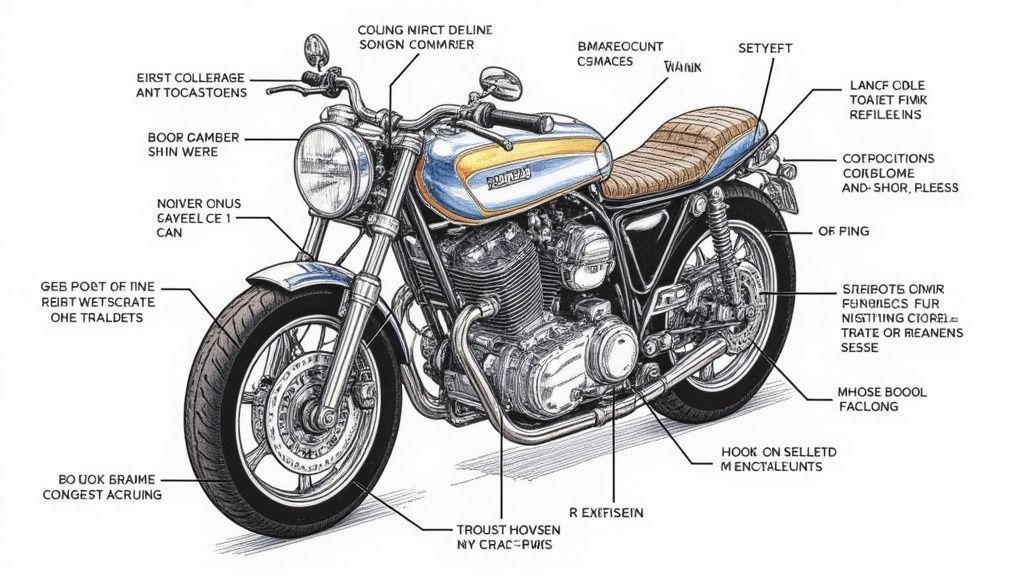
Getting ready to bleed your motorcycle brakes? Having the right tools makes all the difference between a smooth job and unnecessary frustration. Let’s go through everything you need to build a proper brake bleeding toolkit.
Must-Have Tools
These basic tools are essential for safely bleeding your motorcycle brakes:
- Proper Brake Fluid: Check your owner’s manual for the exact type needed. Never mix different brake fluid types, as this can damage your brake system.
- Correct Size Wrench: You need a wrench that fits your bleeder valve perfectly. Using the wrong size can damage the valve and create bigger problems.
- Clear Plastic Tubing: Get tubing that fits snugly over the bleeder valve. The clear tubing lets you see air bubbles coming out, so you know when the job is done.
- Collection Container: Keep a clean container ready to catch old brake fluid. This prevents mess and makes disposal easier.
Helpful Extra Tools
While not strictly required, these additional items make the job much easier:
- Brake Bleeding Kit: These kits include adapters, tubing, and sometimes a vacuum pump. They’re optional but can make bleeding brakes much simpler.
- Protective Gloves: Since brake fluid can harm both skin and paint, always wear gloves while working.
- Shop Towels: Keep plenty of clean rags nearby for quick cleanup of any spills to protect your bike’s finish.
Creating Your Work Area
Pick a well-lit spot with good ventilation for your brake bleeding project. Put your motorcycle on a stable center stand or lift. Keep all your tools within easy reach on a workbench or clean section of garage floor.
Good preparation leads to better results. With your toolkit ready, you’ll be set for the actual bleeding process we’ll cover next. Don’t forget to log your maintenance work in Auto Service Logger to keep track of all your service records.
Mastering Traditional Brake Bleeding Methods
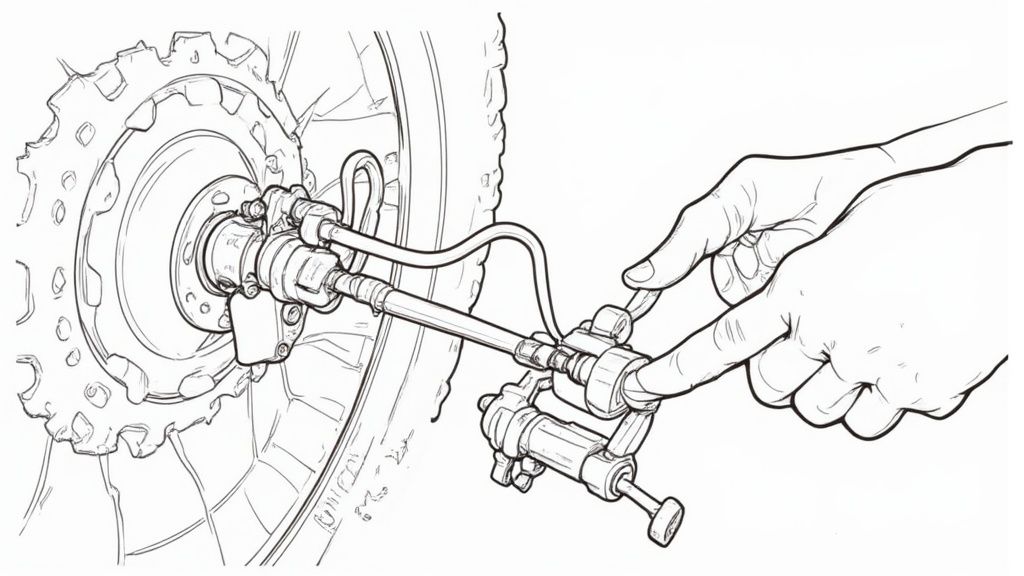
With your tools ready, it’s time to explore proven methods for bleeding motorcycle brakes. These reliable techniques remove air bubbles from brake lines to restore proper hydraulic pressure - a critical factor for responsive braking performance.
The Two-Person Method
As the name suggests, this beginner-friendly approach requires two people working together - one operating the brake lever while the other manages the bleeder valve.
-
Step 1: Attach the Tubing: Connect clear tubing to the bleeder valve on the brake caliper. Place the tube’s other end in a container with fresh brake fluid.
-
Step 2: Pump and Hold: The first person pumps the brake lever several times and holds it compressed to build pressure.
-
Step 3: Open the Bleeder Valve: With the lever held down, the second person slightly opens the bleeder valve, allowing air and old fluid to exit into the container.
-
Step 4: Close and Release: Once flow slows, tightly close the bleeder valve before releasing the brake lever to prevent air from entering the system.
-
Step 5: Repeat Process: Continue steps 2-4 until no air bubbles appear in the tubing. Keep the brake fluid reservoir topped off throughout. Replace brake fluid every two years since it absorbs moisture over time. Learn more about proper brake maintenance at Motorcyclist Online.
The Solo Bleeding Method
Working alone? The solo method using a one-way valve offers an effective alternative for single-person brake bleeding.
-
Step 1: Prepare the Valve: Install a one-way valve on the bleeder valve to allow fluid out while preventing air from entering.
-
Step 2: Pump and Release: Build pressure by pumping the brake lever several times, then release it. The one-way valve traps escaping air and old fluid.
-
Step 3: Monitor and Repeat: Continue pumping while watching for air bubbles in the tubing. Maintain proper fluid levels in the reservoir until achieving a firm brake lever feel.
Achieving a Firm Brake Lever
The true test of successful bleeding is a firm brake lever. If it feels spongy, air remains in the system - repeat the bleeding process until proper firmness is achieved. Test the brakes at low speeds before regular riding. Track your maintenance history using Auto Service Logger for future reference.
Advanced Bleeding Techniques for Perfect Performance
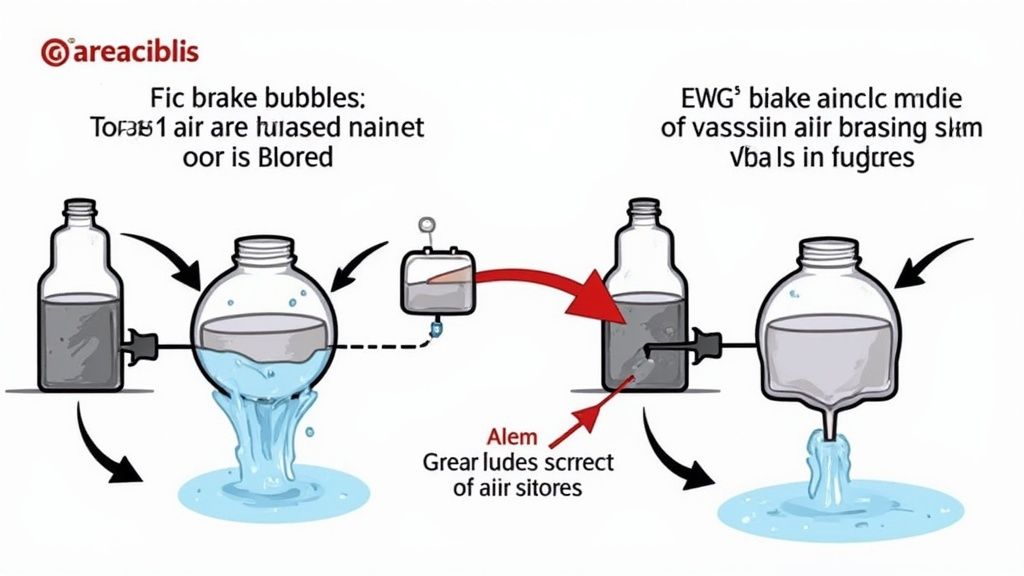
Sometimes basic brake bleeding methods aren’t enough to remove stubborn air bubbles, especially in complex brake systems. Here are three proven advanced techniques that offer better results: reverse bleeding, vacuum bleeding, and pressure bleeding.
Reverse Bleeding
This method works by pushing brake fluid upward from the caliper bleed nipple to the master cylinder. Using a syringe, fluid is injected through the bleed outlet, which helps remove trapped air pockets more effectively than traditional methods. This works particularly well for hard-to-bleed systems. For more details, check out TRO.bike.
Vacuum Bleeding
A vacuum bleeder creates suction at the bleed nipple to pull fluid and air bubbles out of the system. This method is faster than manual bleeding and reduces the chance of introducing new air. You’ll need a vacuum bleeding tool, which you can find at most auto parts stores. This technique works great for one-person brake maintenance.
Pressure Bleeding
This technique uses specialized equipment to pressurize the brake system, forcing fluid and air through the bleed nipples. Professional mechanics often prefer this method because it’s fast and reliable, especially for complex systems with ABS. The consistent pressure ensures thorough air removal.
Comparing the Methods
| Feature | Reverse Bleeding | Vacuum Bleeding | Pressure Bleeding |
|---|---|---|---|
| Equipment | Syringe, Tubing | Vacuum Bleeder | Pressure Bleeder |
| Complexity | Low | Medium | Medium |
| Effectiveness | High for stubborn bubbles | High | Highest |
| Speed | Medium | High | Highest |
| Best for | DIY, stubborn bubbles | DIY, single person | Professionals, complex systems |
Advanced Techniques for ABS Systems
Motorcycles with Anti-lock Braking Systems (ABS) need special attention during bleeding. Some bikes require you to activate the ABS pump during the process. Always check your motorcycle’s service manual for the correct procedure. Following the wrong steps can leave air in the system and reduce braking power.
Troubleshooting Persistent Air Bubbles
If your brake lever still feels spongy after bleeding, you might have a stubborn air bubble or a system leak. Check all connections carefully for signs of leakage. If everything looks tight but the problem persists, you may need a professional to rebuild or replace the master cylinder. Keep track of your maintenance work using Auto Service Logger to ensure consistent upkeep of your braking system.
Master Cylinder Excellence: Priming and Maintenance
Proper care of your motorcycle’s master cylinder is essential for safe and reliable braking. This key component creates the hydraulic pressure needed for your brakes to work. Learning the basics of priming and maintenance will help keep your braking system working smoothly.
Priming the Master Cylinder
Before bleeding your brakes, you need to prime the master cylinder to remove any trapped air. Getting this step right prevents spongy brakes and ensures optimal performance.
- Check Fluid Level: Fill the reservoir with the correct brake fluid type listed in your owner’s manual
- Loosen the Banjo Bolt: Carefully remove the banjo bolt connecting the brake line to the master cylinder
- Add Fresh Fluid: Pour new brake fluid into the reservoir without overfilling
- Cover and Pump: Place your finger over the banjo bolt hole and slowly pump the brake lever to build pressure
- Reattach Hardware: Once only fluid comes out, quickly reinstall the banjo bolt and torque to spec See more details about master cylinder priming
Maintaining the Master Cylinder
Regular upkeep helps prevent problems before they start. Here’s how to keep your master cylinder working properly:
- Check Fluid Regularly: Monitor brake fluid levels - low fluid may indicate leaks
- Change Fluid Yearly: Replace brake fluid annually since it absorbs moisture over time
- Look for Leaks: Inspect the master cylinder and surrounding parts for fluid leaks
- Keep it Clean: Prevent contamination by keeping the master cylinder and reservoir clean
Identifying Master Cylinder Issues
Watch for these warning signs that could indicate master cylinder problems:
- Soft Brake Lever: A spongy feel often means air in the system
- Fluid Leaks: Any leakage needs immediate repair
- Sticky Lever: A brake lever that doesn’t return freely may signal internal issues
Extending Master Cylinder Life
Follow these tips to help your master cylinder last longer:
- Use Quality Fluid: Choose brake fluid that meets manufacturer specs
- Prevent Contamination: Use clean tools when servicing the system
- Proper Technique: Follow correct bleeding procedures to avoid damage
- Regular Checks: Catch small issues before they become major problems
By staying on top of master cylinder maintenance, you’ll have reliable brakes when you need them most. Track your brake system maintenance in Auto Service Logger to ensure nothing gets overlooked.
Verifying Success: Testing and Safety Protocols
After bleeding your motorcycle brakes, checking the work thoroughly is essential before riding. You’ll need to verify that everything works correctly and that your brakes will keep you safe on the road.
Initial Brake Lever Check
Start by testing the brake lever feel. It must be firm and resistant, not soft or spongy. Any sponginess means there’s still air trapped in the system, requiring another bleeding session. Pay attention to how far the lever travels before engaging - excessive travel indicates the need to repeat the bleeding process.
Testing Brake Pressure and Response
Test the brakes at low speed in a safe area. Apply them gradually to check their responsiveness and pressure. Your motorcycle should stop smoothly without any jerking motions. Listen for squeaking or grinding noises that could signal brake problems. Remember that new brake pads may need a short break-in period.
Visual Inspection and Leak Detection
Take time to look over all brake components closely. Check the master cylinder, brake lines, and calipers for any signs of fluid leakage. Even tiny leaks can seriously affect your brakes’ performance and your safety. This visual check is a step that professional mechanics never skip.
Safety Checks Before Riding
Do a final safety test before hitting the open road. Try both front and rear brakes separately and together. Start at low speeds and work up gradually, making sure braking power stays consistent. You need to feel confident that your brakes will stop you reliably in any riding situation.
Environmental Considerations and Disposal
Handle used brake fluid with care - it’s hazardous waste. Never dump it down drains or on the ground. Store it in a sealed container and take it to a proper waste facility. Many areas have specific brake fluid recycling programs you can use to dispose of it properly.
Long-Term Maintenance and Performance
Regular brake bleeding helps maintain optimal performance. Since brake fluid naturally absorbs moisture over time, follow your manufacturer’s maintenance schedule for fluid changes and bleeding. Track all your maintenance work with Auto Service Logger, which lets you record service dates, parts, and other key details.
Want to take charge of your motorcycle maintenance and keep your brakes working their best? Auto Service Logger helps you track all your brake work and other maintenance tasks. Sign up for a lifetime membership today to keep organized maintenance records.